Restoration Hardware did it. Joanna Gaines did it. And now I can add myself to the list!
Not to say that I am anywhere near the level of these amazing designers, but everyday folks should be encouraged that if I can do it, you can, too!
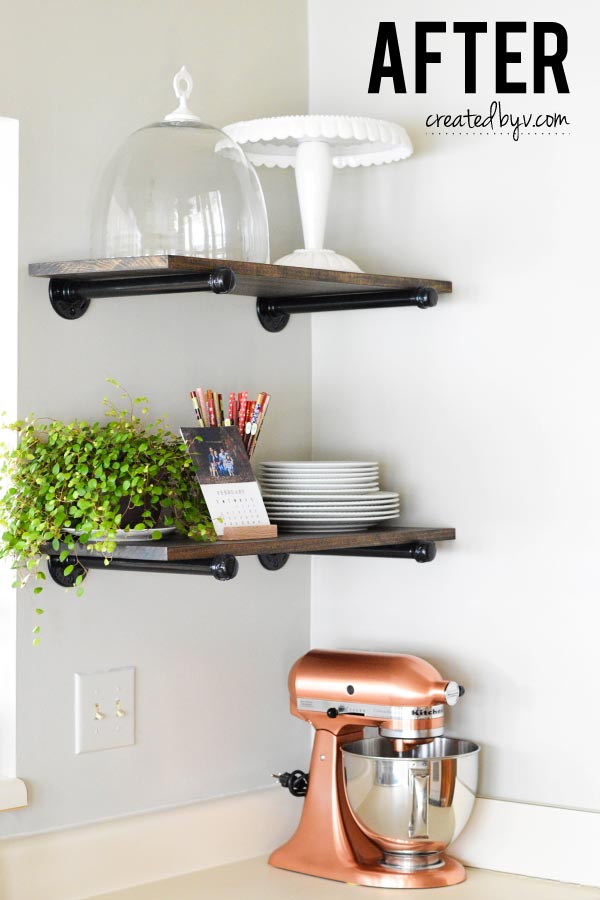
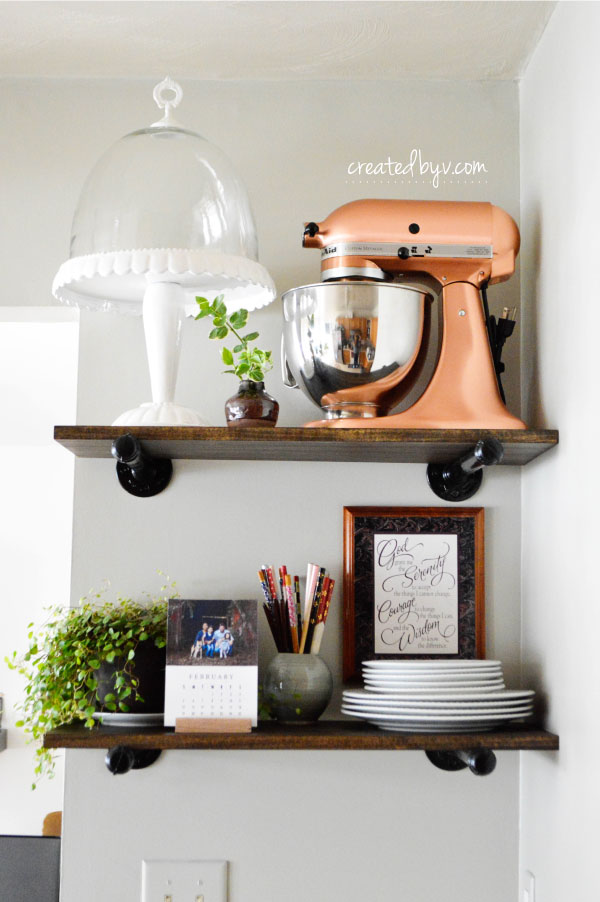
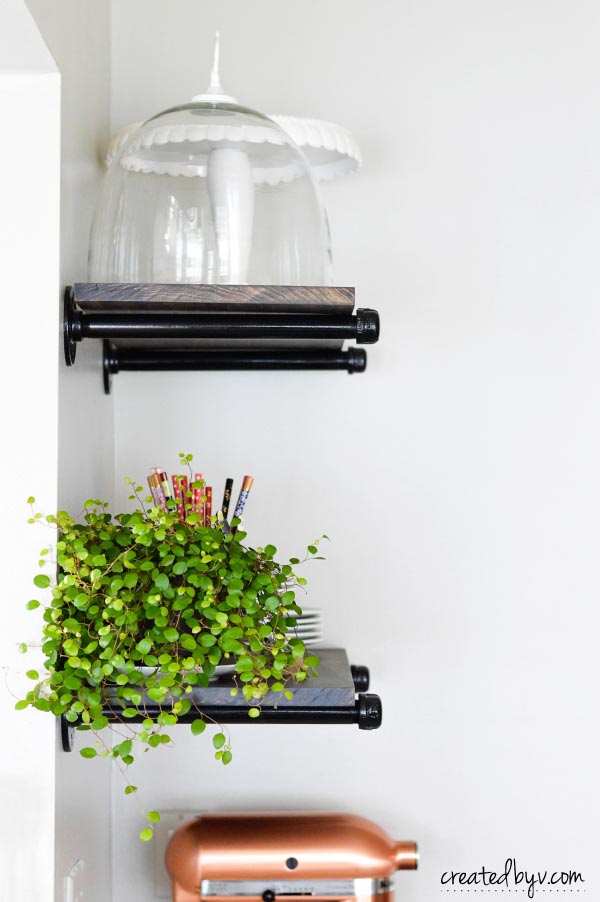
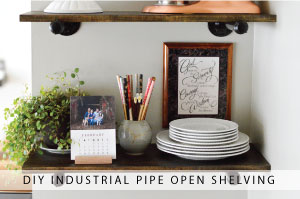
The metal pipes and fittings are such a clever repurpose — instantly adding interest to any space. The wood planks add a rustic charm, and the open shelving is beautiful and functional.
When we bought our house in May 2015, taking down this particular kitchen cabinet and replacing it with open shelves was one of the first things I wanted to do. Unfortunately, it took a back burner because we decided to completely remodel the kitchen with new cabinets, appliances, counters, etc. down the road… and so the cabinet stayed.
Even though it housed my overflowing mug collection, the cabinet was also heavy, clunky and dull. I wanted to tear it off the wall every time I looked at it.
And so I did.
Because sometimes a little improvement while waiting for the big remodel is so worth it. Because now I have a lovely place to display the gorgeous cake stand I received for Christmas. Because this little investment of time and money brings a smile to my face every time I look at it.
So worth it.
Here’s what you’ll need:
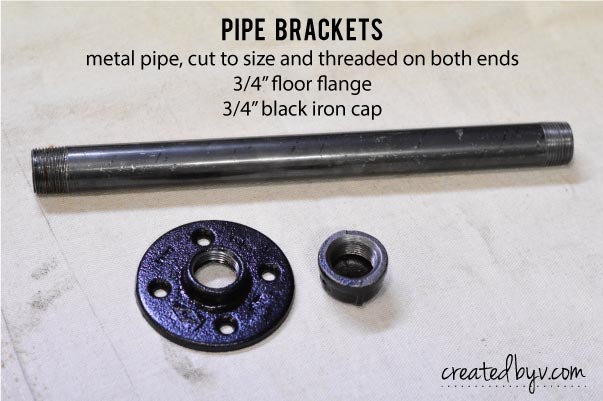
- 3/4″ black iron cap (x4)
- 3/4″ floor flange (x4)
- 3/4″ x 5′ black iron pipe (cut to size and threaded)
- 1″ x 12″ x 6′ poplar board or wooden planks (cut to size)
- #12 x 1-1/4″ flathead wood screws (x16) and wall anchors (x8)
- black spray paint
- tools: level / drill / tape measure / stud finder
- optional: wood stain / polyurethane/ bag of 3/4″ pipe straps
Cut and stain shelves:
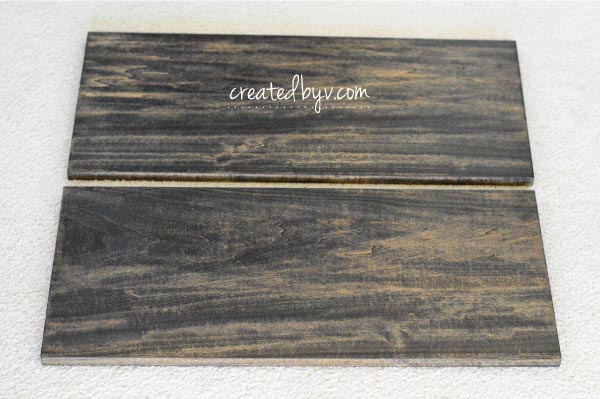
I cut a 6′ piece of poplar into (2) two 26-1/2″ planks for the shelves. I chose poplar simply because I liked the grain, so feel free to use reclaimed wood or something else based on your own preference. Stain and treat with poly, if desired. In my case, I stained them in dark walnut and applied three coats of spray poly in a satin finish.
Cut and clean pipes:
Finally a chance to work with his preferred medium — metal — the Chief happily obliged to cut and thread the pipe into (4) four 12-1/4″ pieces for the brackets. I wanted the planks to sit neatly on the pipe with very little wiggle room, so he gave the pipes a 1″ thread allowance.
Don’t fret if you can’t DIY this part — Lowe’s or Home Depot can cut and thread the pipes for you.
Black iron pipes are grimy and sticky so the Chief also gave them a good wipe down with mineral spirits.
Assemble pipe brackets:
Screw a cap onto one end of the pipe and a flange onto the other. We tightened the fittings onto the pipe so that each bracket was the same length. Some required a bit more muscle than others given the pipe’s tapered threads.
Paint pipe brackets:
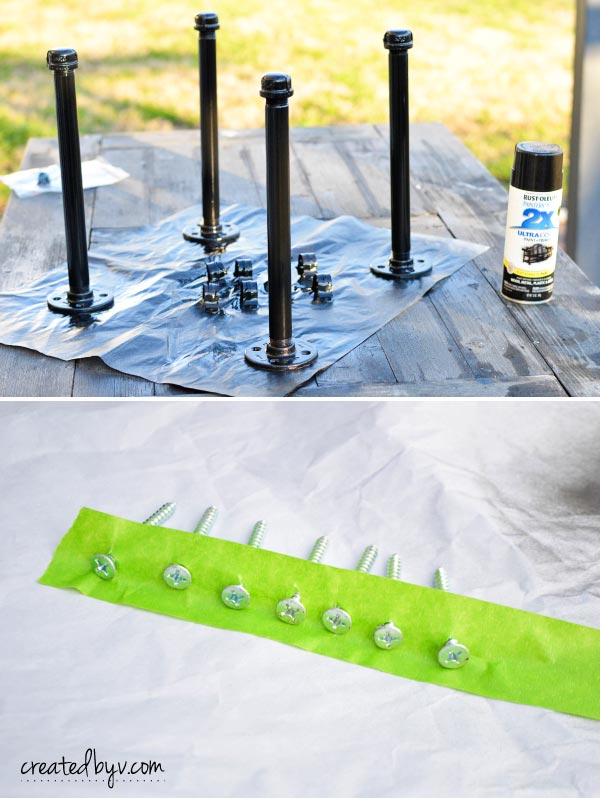
For a uniform look, spray paint all the pipe pieces. I gave them all 2-3 coats of black spray paint with a gloss finish.
Here’s a tip: Poke screws into a strip of painter’s tape to spray paint the heads. If the paint chips away during installation, just spray a glob of paint onto a piece of cardboard and touch up with a brush. Or use a black Sharpie.
Mount pipe brackets to the wall:
For stable and sturdy shelves, aim to drive at least the top and bottom screws of each flange into a stud.
Ideally, you would do this by first locating and marking the wall studs. Then align the center of each flange with the studs. Mark the proper placement of each of the four screws; drill a pilot hole and insert a drywall anchor into the left and right holes of the flange.
Drive a flathead wood screw into the top and bottom holes of the flange through the drywall and into the stud. Screw the left and right screws into the anchors by hand. Ensure the shelves will lay straight and even by placing a level between the pipe brackets and adjusting accordingly. Repeat for the next shelf.
Hopefully it will go that smoothly for you.
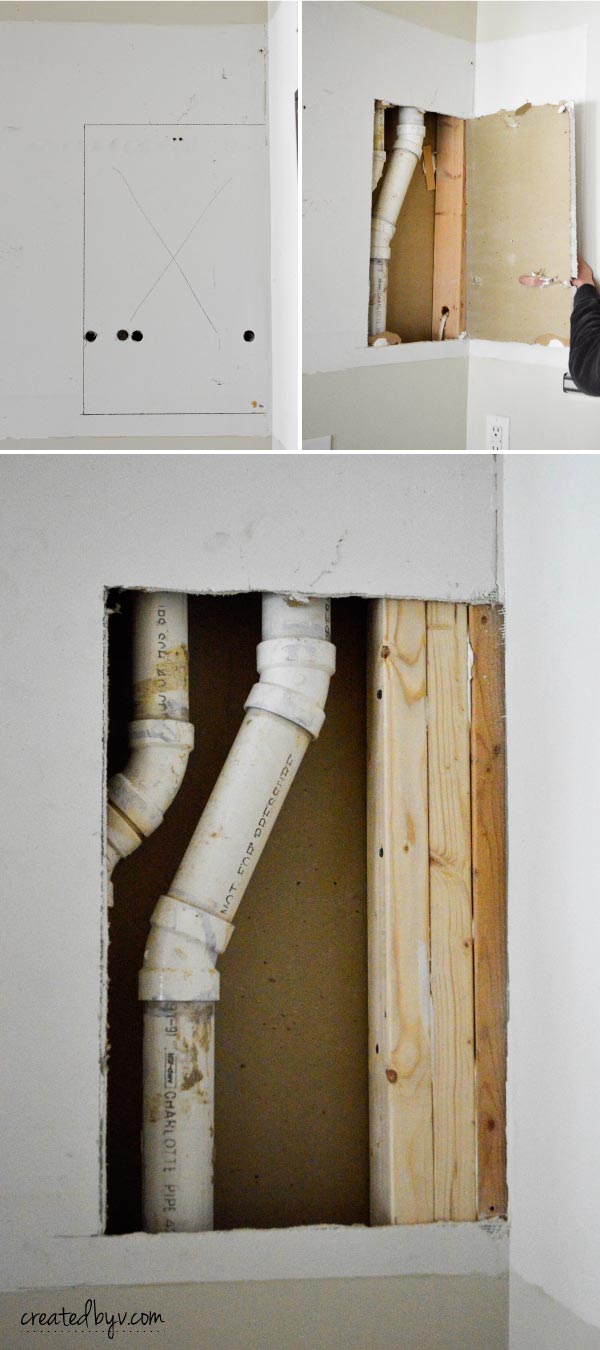
But in our little fixer-upper, this is what we faced: We started with a stud finder to get our bearings. We easily found a stud on the left side, but it seemed to give false readings in the center. We knew something was up when we took the cabinet down and saw that previous tenants had tested across the wall with a hammer.
So we carefully drilled a few holes just into the drywall to reveal a few pipes to avoid and a sideways facing stud on the right. Since the thin side of the stud wasn’t wide enough for the flanges and we already drilled holes into the drywall, we went ahead and carefully cut a square of the drywall out and built up the right stud.
To beef up the stud and give the flanges on the right side something to drill into, we attached two 2x4s (leftover from my wood block stocking holders) to the existing stud with Liquid Nails and screws. Then, we went through the tedious task of replacing the drywall.
I gave the walls a couple coats of KILZ latex primer followed by Benjamin Moore’s Revere Pewter to see if we’ll extend this color throughout the space. We then mounted the pipe brackets as per above. You can further secure the shelves by installing pipe clamps.
One of our pipes was a bit askew, so here’s a tip to achieve level: add a washer (or two) behind the corresponding flange hole. The washer isn’t at all noticeable and gives the nudge you need for a perfectly horizontal shelf.
So what do you think of the Revere Pewter? Go or no?
Thanks for reading! — v.







I sure hope you didn’t pinch off that electrical wire that was coming through the first 2 x 4. :-)
Of course not! It looks like it in the photo, but Sam routed a space for the wire before attaching.
Like the idea but will use cooper pipes instead will give a lighter look plus I love it!!!
Oooh, I love copper, too! It will look lovely, Patricia! Thanks for reading!
I used Benjamin Moore Pewter Cloud in a whole house once. It’s beautiful! Go for it.I really like the industrial look of your pipe shelves too.
Thanks, Dee! That’s encouraging!
Keep the paint color. It looks great. I love the black pipe shelving and plan on using that in our new bathroom this summer. Did you use pipe clamps on the underside of each shelf to keep it in place and eliminate any chance of the wood slipping off the pipes on either end? I couldn’t tell from the photos.
Thanks, Sue! I planned to use pipe clamps, but in the end, the shelves were held in place very well by the flanges and caps and the weight of the items on the shelves. There was even a slight bow in one of the boards, but the stand mixer took care of that! If these shelves were located where kids or pets could mess with them, I’d definitely use pipe clamps underneath as an added security measure. Thanks for reading, Sue!
Looks great, but my cats would knock everything off the shelves. :(
Oh no, bad kitties! ;) Thanks for reading, Cynthia!
That looks fantastic! Also makes that countertop easier to use. I personally love the paint color. I say GO FOR IT!!!
Thank for casting your vote, Deb!