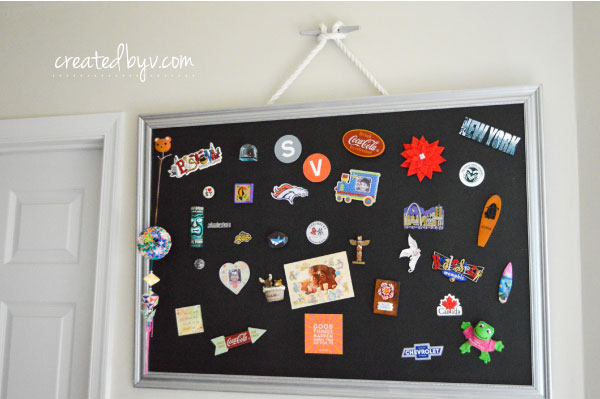
Are there things you collect when you travel? Maybe shot glasses or coffee mugs? Well, I collect magnets.
My refrigerator is covered with magnets from all parts of the world that serve as a sweet reminder of my wanderlust years. I recently decided to organize my collection and came across a tutorial that used a cookie sheet covered with fabric. It was just the spark of inspiration I needed to create this.
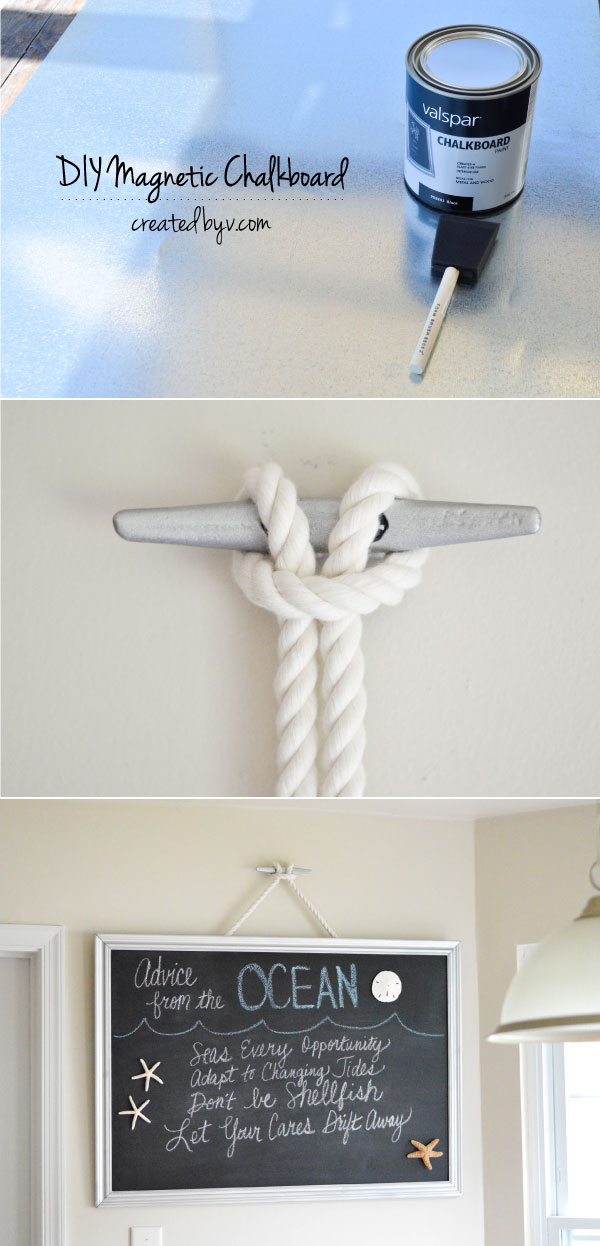
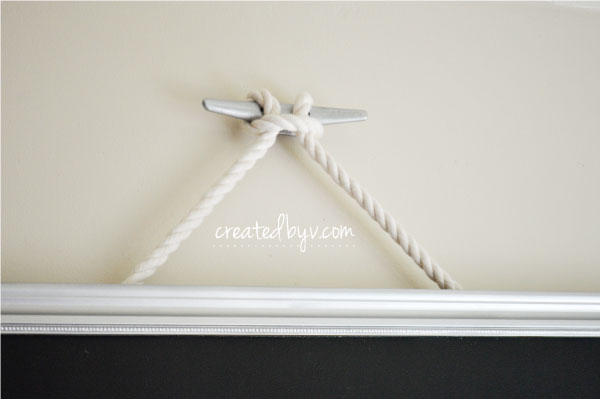
It’s a framed piece of sheet metal covered in chalkboard paint and hung with nautical rope from a boat cleat. {Go Navy!}
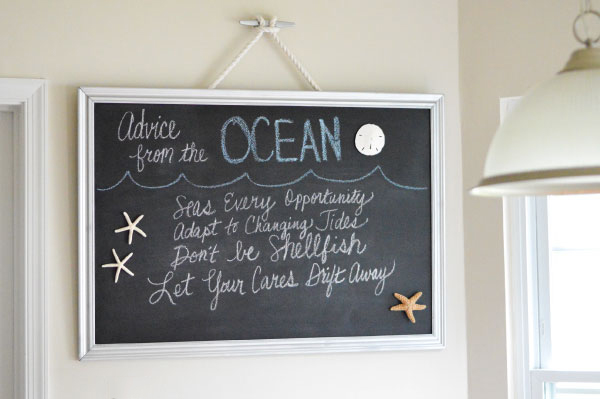
Not only can I now display my magnet obsession {that’s not even all of them}, but I can also share my profound thoughts in chalk. Like,
“Don’t forget to buy dog food.”
“Kitchen closed. Fend for yourselves.”
Or some charming life advice from the ocean, which was something I saw while on vacation in Myrtle Beach recently. I like the play on words!
Some of the others that didn’t make my chalkboard but were equally as clever were: “Surf Life’s Rough Waves,” “Harbor Strength & Persevere” and “Bet on a Shore Thing.” And yes, those are seashells that I turned into magnets with a little glob of hot glue.
So have I inspired you to create a magnetic chalkboard of your very own? Kindly allow me to assist with some thrifty advice and a simple tutorial. Enjoy! — v.
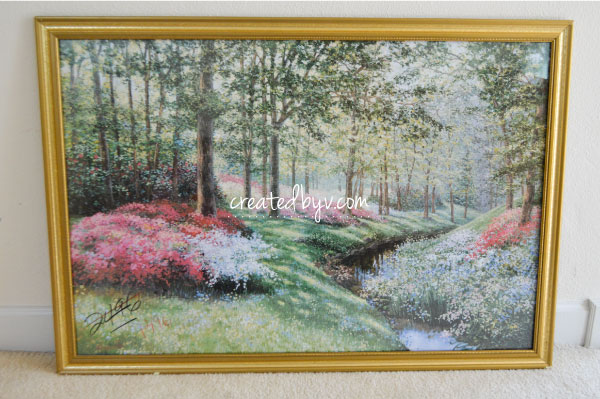
{1} Buy a frame from a local thrift store.
I got this frame with a 24×36″ opening for $14.96. You’ll be hard-pressed to find that size for that price anywhere else.
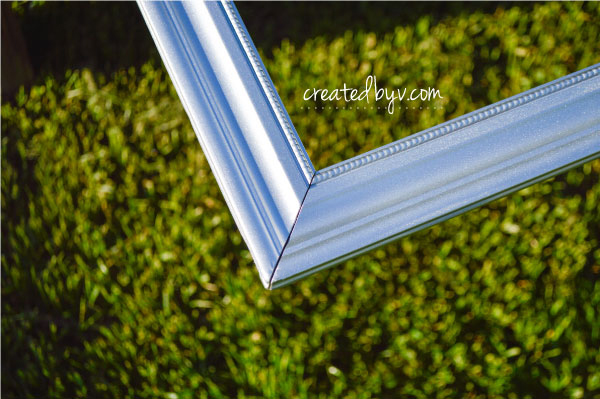
Since I planned to hang my chalkboard from a galvanized cast iron boat cleat, I spray painted the frame a metallic silver. The Chief sandblasted the cleat for a cleaner finish, so I spray painted it to match, too.
{2} Buy sheet metal from the ductwork section of your home improvement store.
A 24×36″ piece of sheet metal in the hardware section will run you about $20 while the same size sheet from ductwork is less than $10. The cheaper option is plenty for what we’re going to do. If you do opt for the more expensive sheet metal, do not buy aluminum; magnets will not stick to it.
{3} Prep your sheet metal.
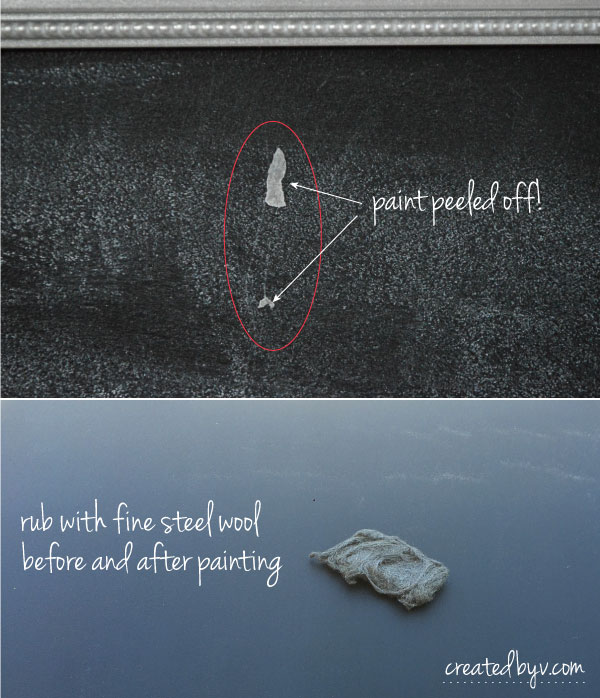
Gently rub the surface with a fine steel wool pad before painting to help the paint adhere better. I was so excited to try out the chalkboard paint that I skipped this step. My kids quickly showed me the error of my ways…
A few extra coats of paint quickly fixed the problem. Giving it another light rub with the steel wool pad after the paint dries produces a nicer finish as well. Just be sure to have proper ventilation and wear a mask to avoid inhalation of metal dust.
{4} Apply 3-4 coats of chalkboard paint.
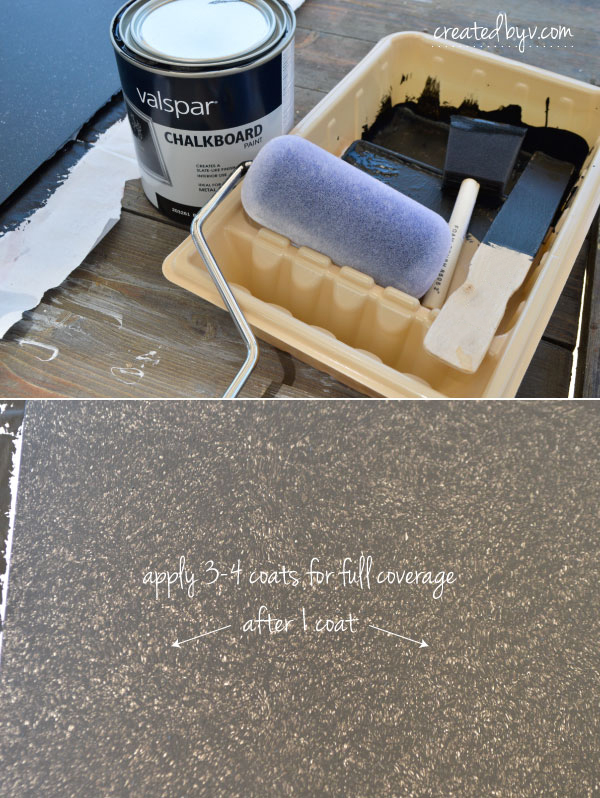
I tried a few different ways to apply the paint — foam brush, a roller with some nap — and finally decided upon a smooth roller as the best option.
This is what it will look like after the first coat. You’ll think I led you astray, but never fear. After a few more coats, you’ll have a perfectly black chalkboard.
I painted my sheet metal outside on a rather warm day so I was able to apply several coats in a single day. I waited about an hour between coats, and then let it dry overnight before I seasoned it.
{5} Season your chalkboard.
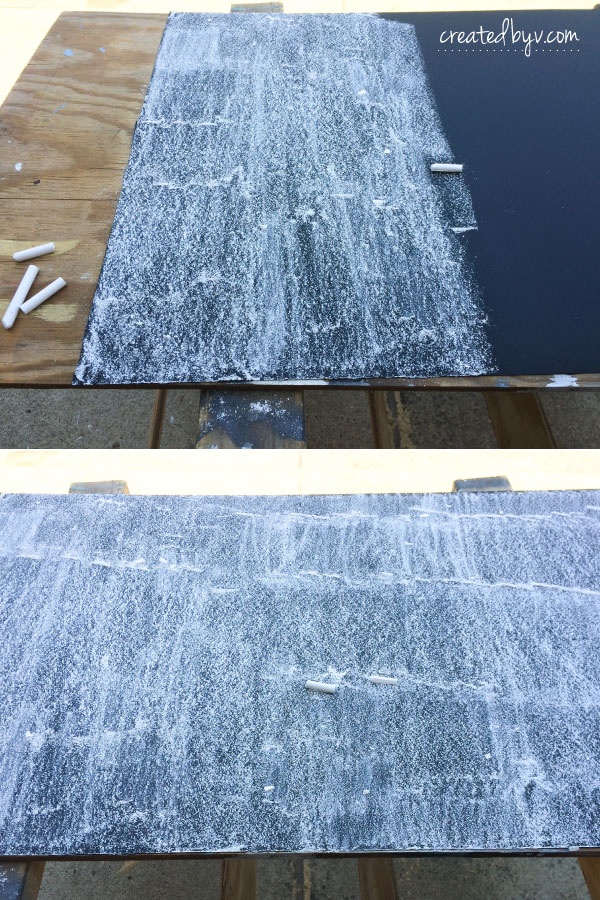
Once the paint is dry and before the first use, you’ll want to use the side of a piece of chalk and cover the entire surface. This will get the chalk into all the nooks and crannies and prevent “ghost images” from occurring.
{6} Hang and enjoy!
We are a proud Navy household so I like to include nautical designs in our decor. This boat cleat and nautical rope are fun ways to hang my new magnetic chalkboard, don’t you think?
Here is a list of resources to complete this project:
6″ galvanized cast iron boat cleat
1/2″ nautical rope in natural white
24×36″ sheet metal
chalkboard paint







You have such great ideas. where did you find the small paint pan for a small roller?
Just found your web sight will be watching for more of your ideas. Ang
Thanks so much for reading and commenting, Ang! I got the small paint pan from Lowes. It’s super convenient for crafty projects. I look forward to hearing more from you!