When we started searching for a house, I had big Pinterest dreams of a fancy laundry room that would make doing mountains of laundry effortless and enjoyable with its smart organization and stunning style. (Yes, my dreams have changed dramatically since becoming the mother of two.)
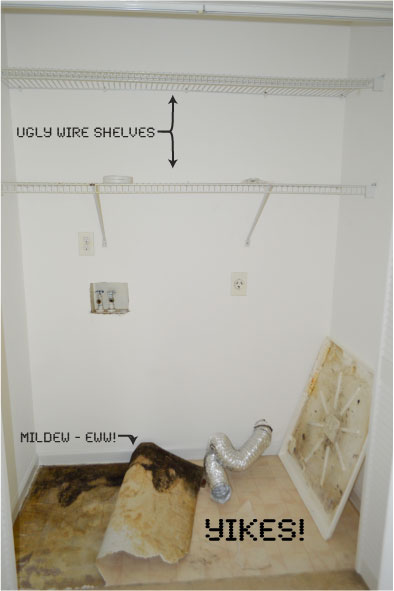
Our glorious new home, however, has this itty-bitty laundry closet.
So we decided to renovate this space first. It was more out of necessity than want as the subfloor had evidence of water damage and what looked like mildew growing under the laminate tile. Since we were getting help moving in the washer and dryer, we needed to get this space in order. And we might as well make it look pretty, too!
So here’s what we did:
Cleaned.
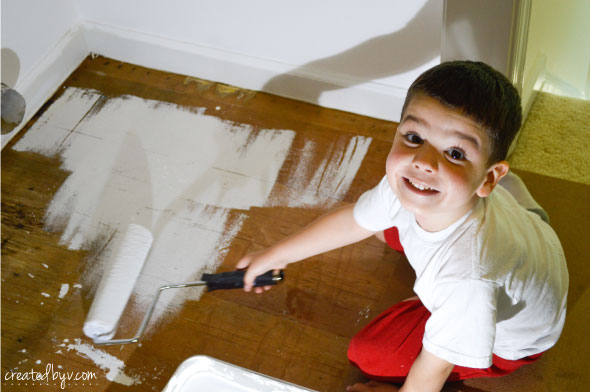
The Chief was kind enough to tackle the job of removing the linoleum and cleaning the mildew. He used a sprayer to apply a bleach+borax+water mixture, which worked like a charm. (By the way, I love using the sprayer — it’s like a magic wand that makes dirt and grime disappear! What’s not to like about that?! It made cleaning the refrigerator and all its little parts a breeze!) After the floor dried, he applied a coat of KILZ latex primer as an added sealing measure.
Replaced linoleum with ceramic tile.
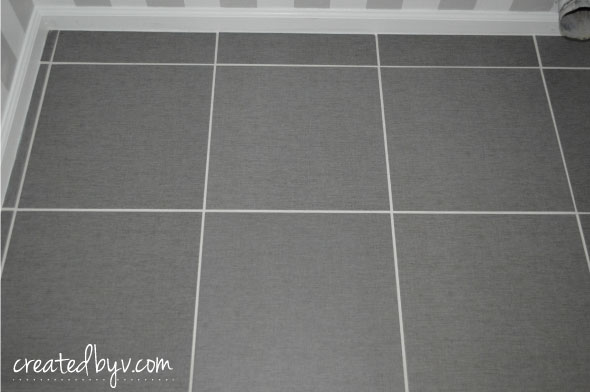
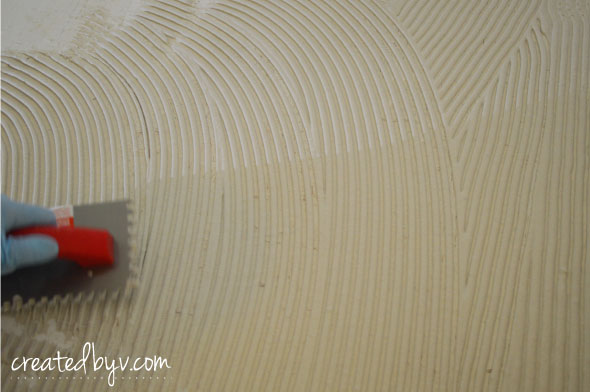
Since the laundry closet is located on the second floor (convenient for putting clothes away; not so much for lifting a full-size washer and dryer up two flights of stairs), we laid a thin coat of mortar over the subfloor, screwed down a backerboard, and laid another coat of mortar on top of the backerboard in order to lay these gorgeous ceramic tiles.
Spreading the mortar reminded me of Ryooan-ji, the Japanese rock garden, where pebbles are raked into intricate patterns. Obviously there’s no comparison in artistic beauty, but you catch my (Tokyo) drift.
Painted stripes.
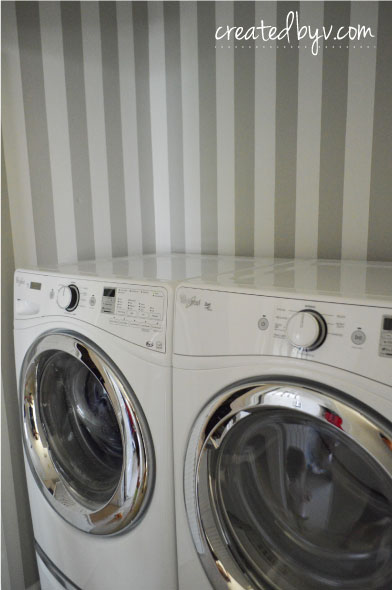
I love stripes. So when I saw this image, I knew I had to have stripes in our new home and the laundry closet was the perfect space — not too big, not too small — to test it out. First, I measured the walls and did the math until I found an easy and pleasing width for my stripes — not at all scientific. The back wall measures 66.5″, so I divided that number by 19 to have 3.5″ wide stripes; the side walls are 36″ so I made 10 stripes and hid the little excess in the front corners.
Now I know we aren’t the first to paint stripes on walls and there are a ton of tutorials out there, but we are true do-it-yourself’ers and like to figure things out on our own. That said, we had a great deal of trial and error in painting these stripes so we can attest to what not to do for your future reference. Click for a more detailed tutorial on how to perfectly paint straight stripes.
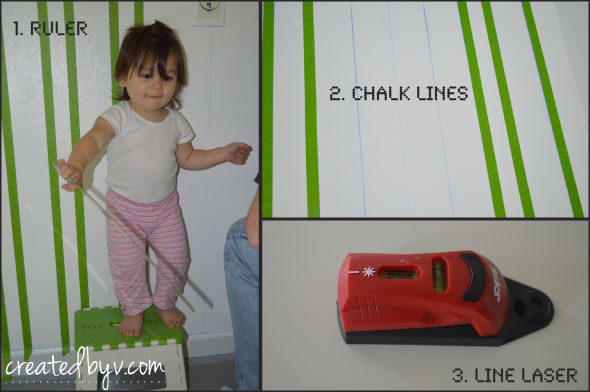
We spackled, primed and got down to the tedious business of measuring and taping. We started from the back wall’s center point and moved outward, marking ticks with a pencil along a ruler and then trying to connect the painter’s tape. That proved wobbly.
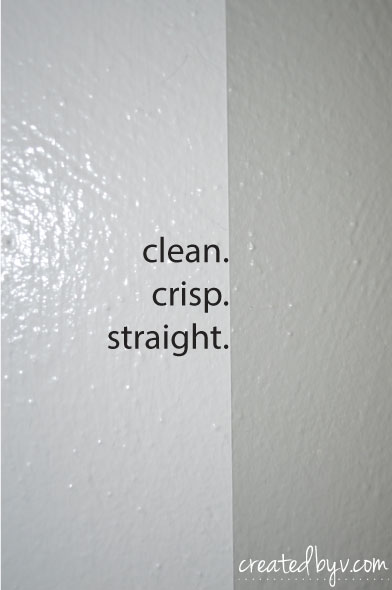
We then tried snapping chalk lines and applying tape over the line. We got straighter lines, but they weren’t clean and crisp (despite opting for the more expensive FrogTape), and some of the chalk residue mixed into the paint. In the end, a line laser proved the best option for taping off straight lines.
This painter’s secret was just what we needed for fine-tuning our painting. We re-taped the white stripes, painted white to seep under the tape, and then painted gray. Voila! Perfectly clean, crisp, straight lines. With the line laser and this painter’s secret, the side walls were easy-peasy.
There are still a few more finishing touches I’d like to make to the laundry closet, but I’m certainly not the least bit disappointed by this laundry closet now — it’s pretty and purposeful!




Saw this project first hand. It is beautiful!