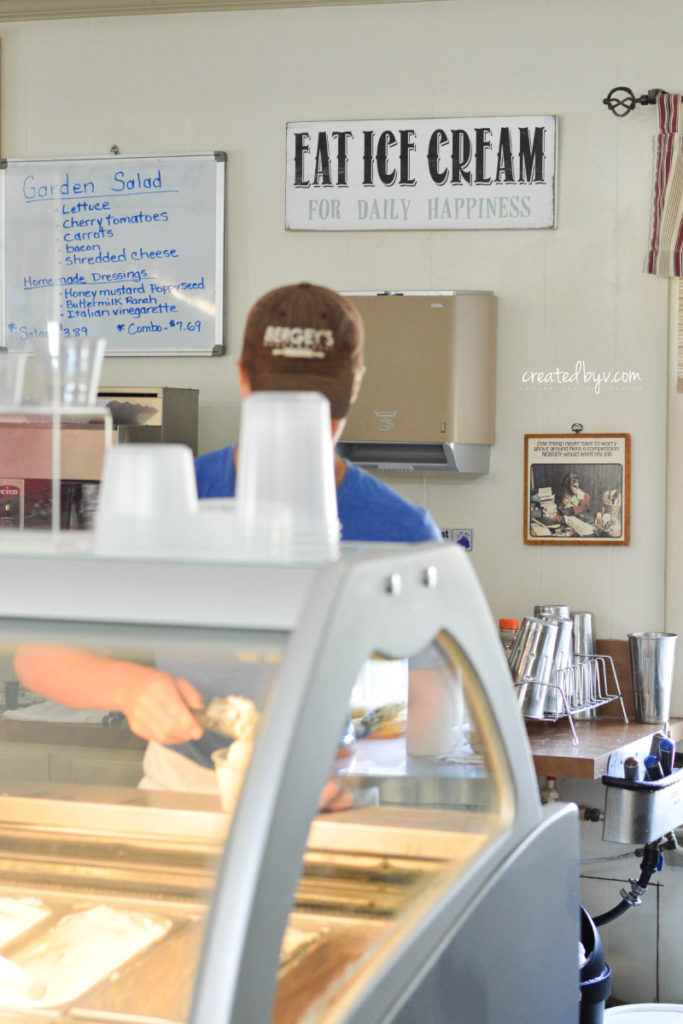
One of our favorite local spots is Bergey’s Breadbasket. It’s a little dairy farm where the kids can pet the farm animals. Usually after our visit, we stop by the adjacent cafe for fresh sandwiches and homemade ice cream.
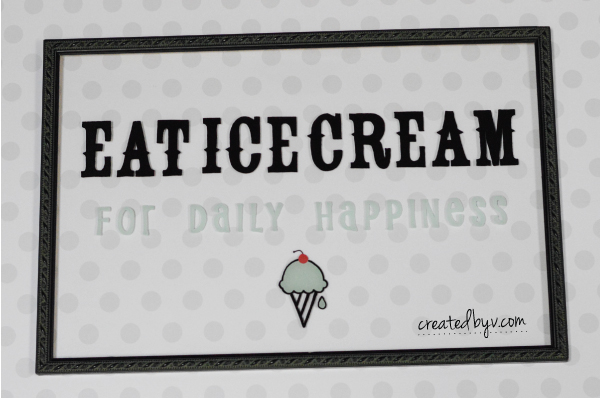
That’s where I saw a sign that read, Eat Ice Cream For Daily Happiness. Instantly, I knew we were kindred spirits. I also knew I needed something similar hanging in my kitchen because I enthusiastically subscribe to the notion that happiness can be derived from a scoop of quality ice cream.
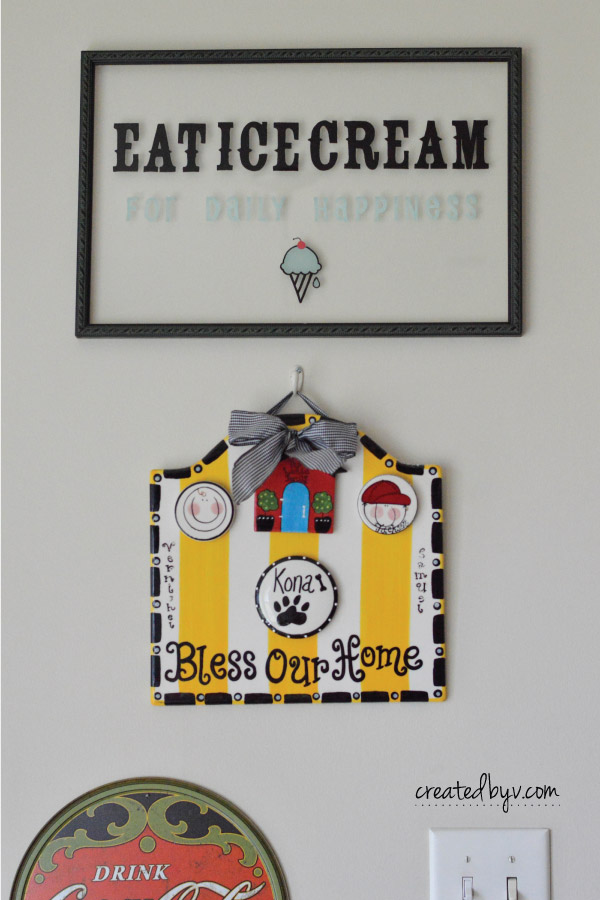
Instead of distressed wood, I made my sign on glass — kind of like those vintage “Fresh Pies Served Daily” signs. My original thought was to transform an old window, but then I came across a piece of artwork with an intriguing frame at the thrift store and glass became my canvas.
The frame has seafoam green highlights that I incorporated into my design. It now hangs prominently on my kitchen wall as a sweet reminder.
If you’d like to re-create this sign, or design something all your own, let me show you how to paint on glass. (If DIY is not for you, visit the Shop to order a sign.)
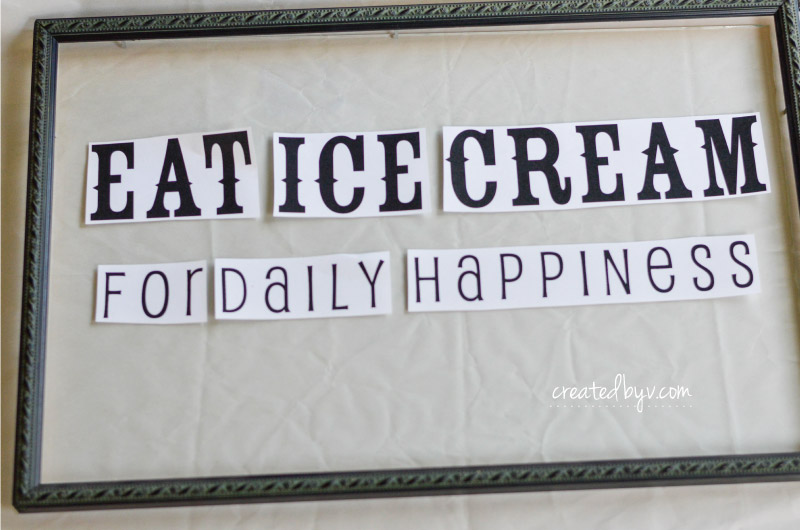
1. Create your art.
I made my art in Adobe Illustrator, but any desktop publishing software will do. Choose fonts based on your preference and then size the text/image to best fit on the glass. Take care to leave adequate spacing between words and around the edges.
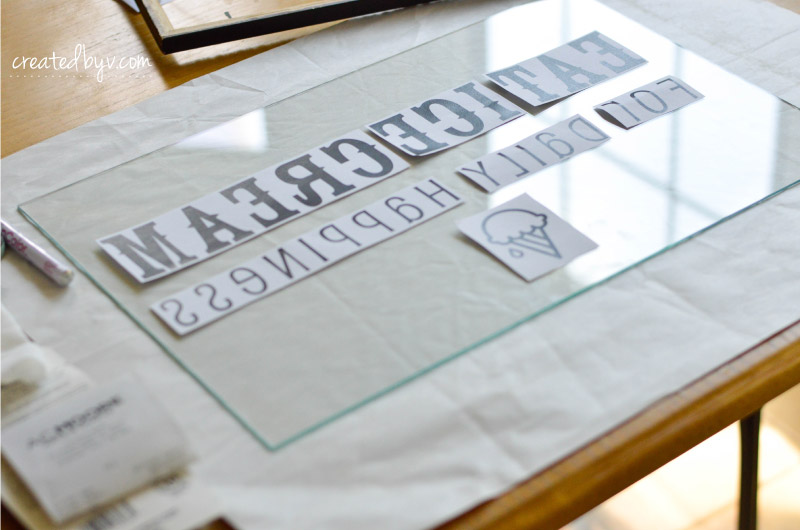
2. Reflect your art.
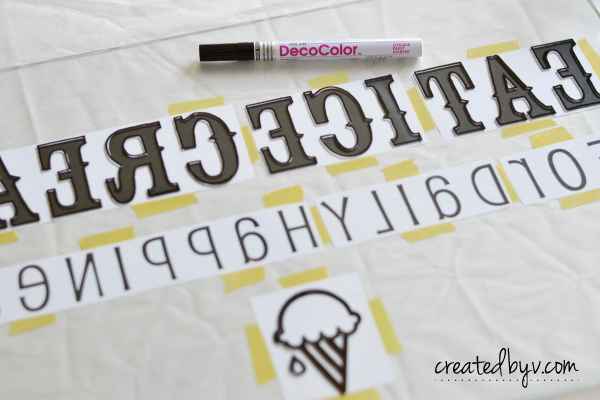
Once you are satisfied with the size and overall placement, you’ll want to invert the text and/or images so they can be seen properly from beneath the glass. In Illustrator, select Object / Transform / Reflect to reverse each item.
3. Place your art.
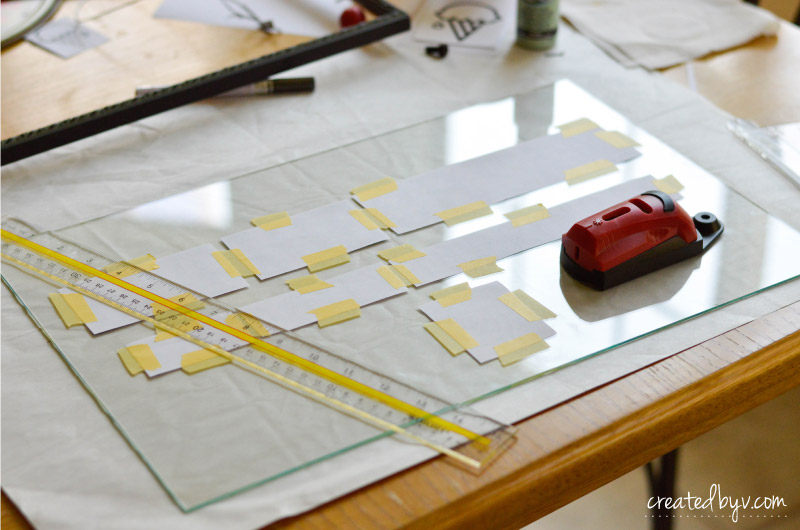
With the aid of a laser level and ruler, I lined up the words and taped them securely with masking tape. You will flip the glass over and paint on the other side, which is why inverting your art is helpful.
4. Trace the outlines.
Be sure the glass is clean and dry before you start painting. (Mind the sharp edges — just sayin’ from experience!)
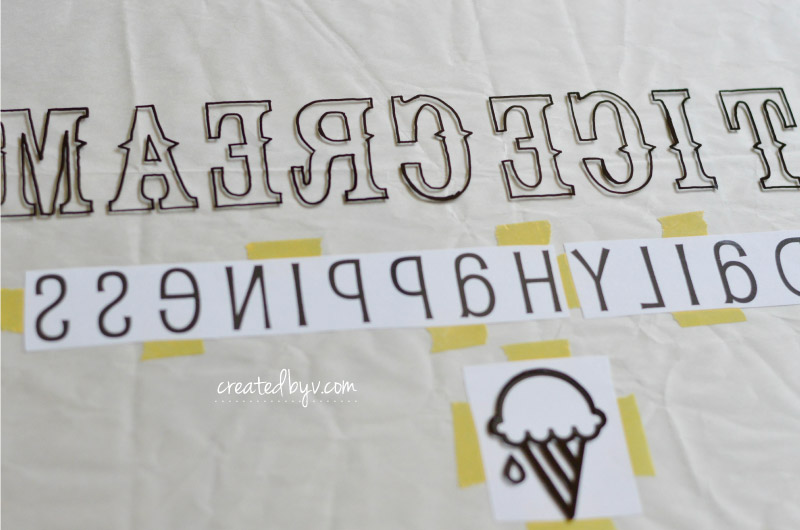
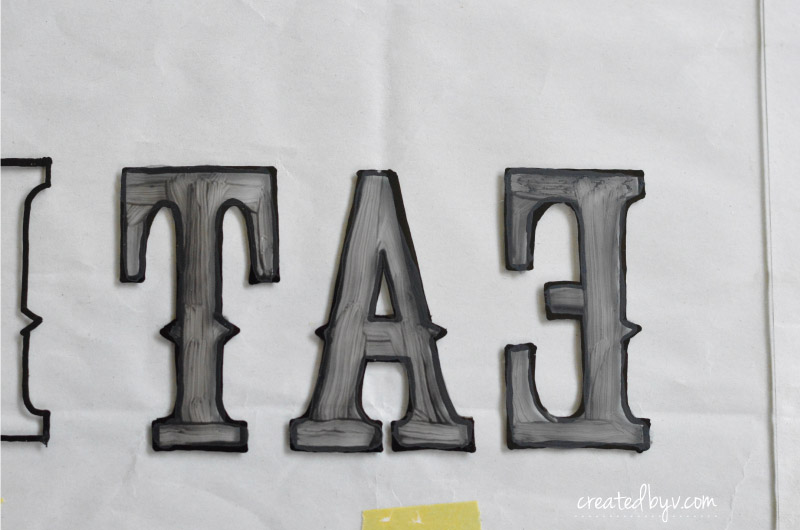
Using a fine line paint pen, trace the outline of each letter and image on the glass. Since I’m right-handed, I worked from left to right to avoid smudging the paint as I went along.
There are several types of paint pens on the market, but I prefer the Uchida brand because they are easy to handle, the paint goes on smoothly and it’s opaque in one application. Alternately, you could use acrylic paint and a paint brush, but that requires a steady hand and several coats.
5. Fill in the outlines.
Removing the paper on the back makes it easier to see the areas that need to be colored in, especially if you’re working with black. I used paint pens for all the lettering and to outline the ice cream cone. I used dabs of acrylic paint on the scoop of ice cream to create texture and dimension.
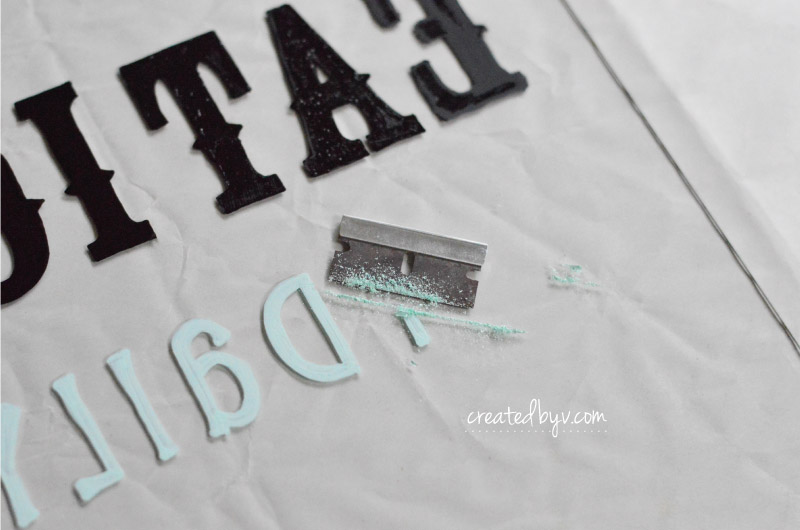
Allow the paint to dry, then carefully clean up any stray marks with a razor blade. Voila!
A couple of pointers:
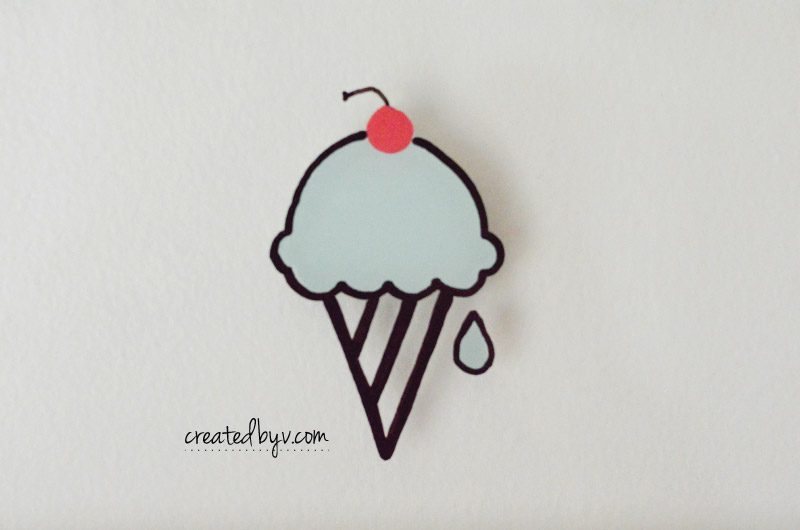
If you’re creating color layers, the first layer you paint on the glass will be the outline and most visible. For example, with the ice cream cone, I decided to add a cherry on top. I had to paint the red cherry first and then outline the rest of the image in black. (Otherwise, there would be a black line running through the cherry.)
I experimented with acrylic paint for filling in the letters, but wasn’t satisfied with the coverage even after several coats. Acrylic paint is more plentiful and inexpensive than paint pens, however, so feel free to experiment based on your own preferences. When applying multiple coats, wait for each coat to dry before applying a fresh one.
Unlike canvas or wood, glass is very forgiving. If you make a mistake at any point in the process, let the paint dry and then carefully scrape it away with a razor blade. Wipe the area clean and try again!
And when you’re done, treat yourself to a daily dose of happiness!
I’m a classic vanilla girl. My kids like cookies and creme.
What’s your favorite ice cream flavor?
Thanks for reading and be sure to visit the Shop for a custom-made sign of your own! — v.

