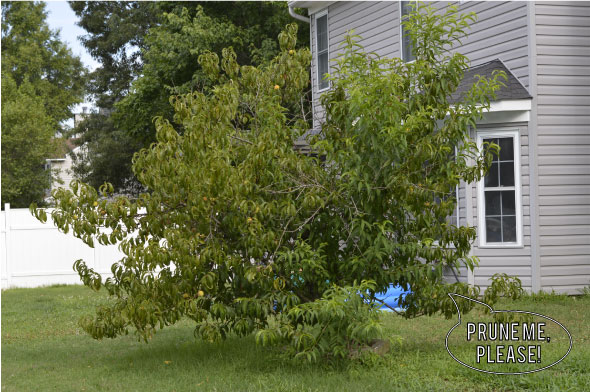
Our backyard bakes from sun up to sun down with little to no relief except for minimal shade from this poor, overgrown peach tree in the middle of the yard.
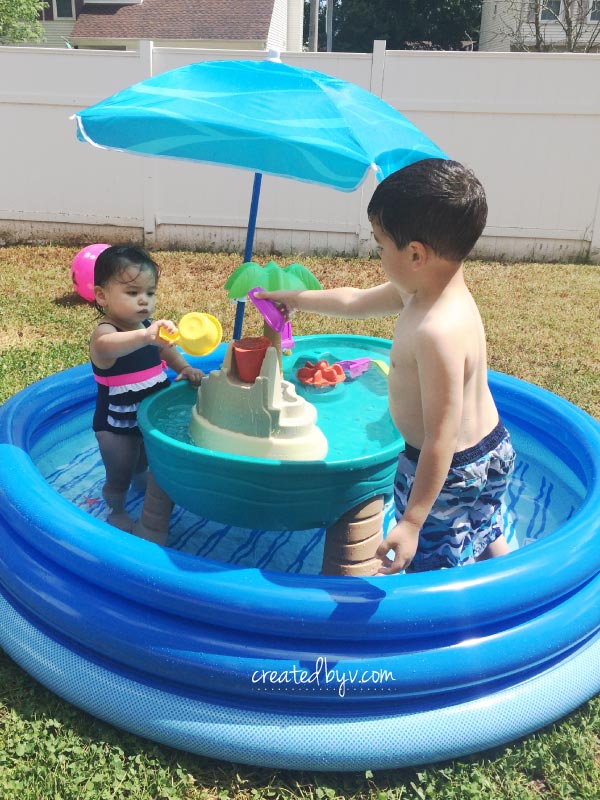
After a few scorching summer days {and a few sunburns}, we started brainstorming shade options for at least the kids’ pool. That little umbrella was not cutting it.
The Chief came home one day from shopping at Lowe’s without a pop-up tent as we’d discussed, but with the wild idea to build a pergola over our concrete patio instead. He said it could be finished in a weekend and with little monetary investment. My curiosity piqued.
We inherited a pergola when we purchased our house, but it was incredibly weathered and located on the side of the house — far from the patio and knee-deep in gumballs.
So we decided to reuse, rebuild and redecorate!
REUSE. In addition to taking it all apart, the Chief had to dig up four posts that were cemented into the ground. Three came up with a lot of muscle; the fourth wouldn’t budge. Shovel, post-hole digger, makeshift jack hammer… nothing worked until he came up with the ingenious idea to use his floor jack as a lever. So clever, that guy.
We sanded all the pieces to remove decay and prep for painting. The wood was pressure treated, so after a good cleaning, we were able to reuse all of it to construct our patio pergola. {We purchased only one 2×6 because I wanted the roof split in half and the wood we had left over wasn’t long enough.}
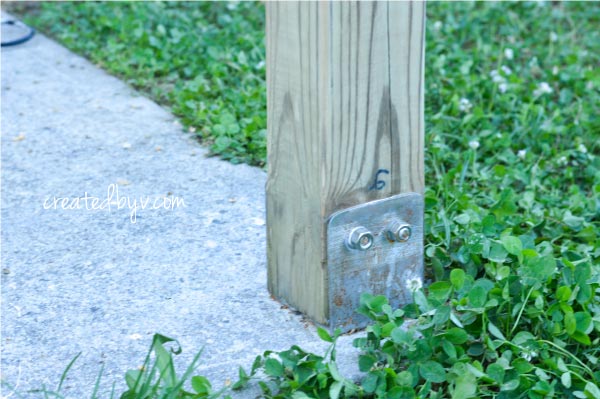
REBUILD. The four posts were secured to our concrete patio with steel post-base anchors using 3/8″ concrete wedge anchors {Red Heads} bored with a hammer drill. That’s just a fancy way of saying those posts are securely rooted in place.
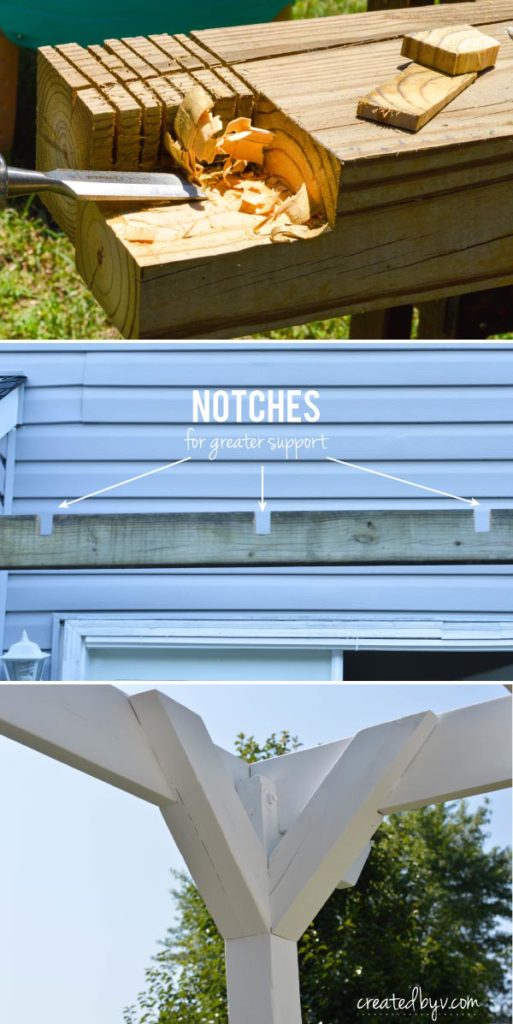
While the original pergola was held together with brackets and screws, the Chief opted to cut notches in the support and crossbeams instead. Diagonal braces were also notched and screwed to the posts. This notching method gives the structure greater support in the event of hurricane winds {or destructive toddlers}.
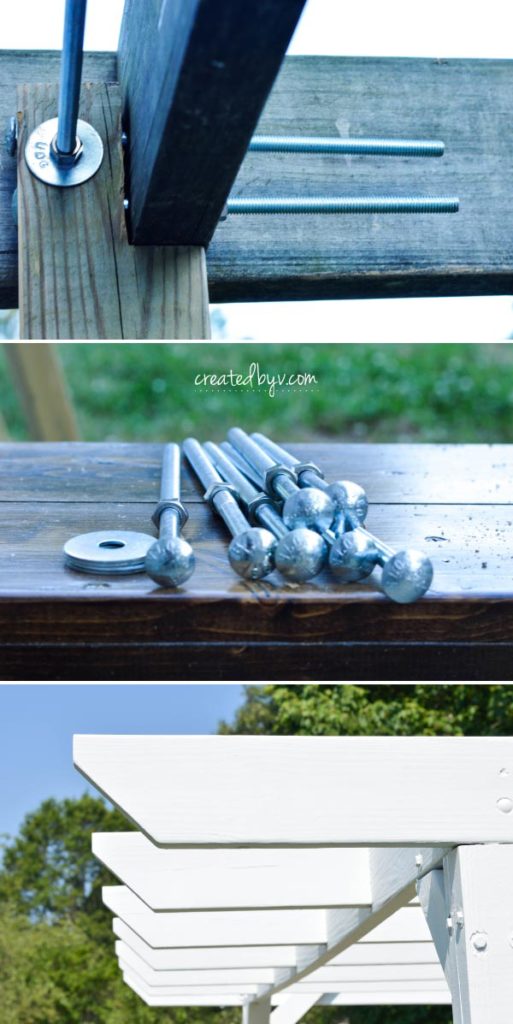
The Chief ensured everything was level and plumb. He also opted to nut and bolt everything together (versus using nails). We picked a simple design for the ends that required only one cut on the miter saw.
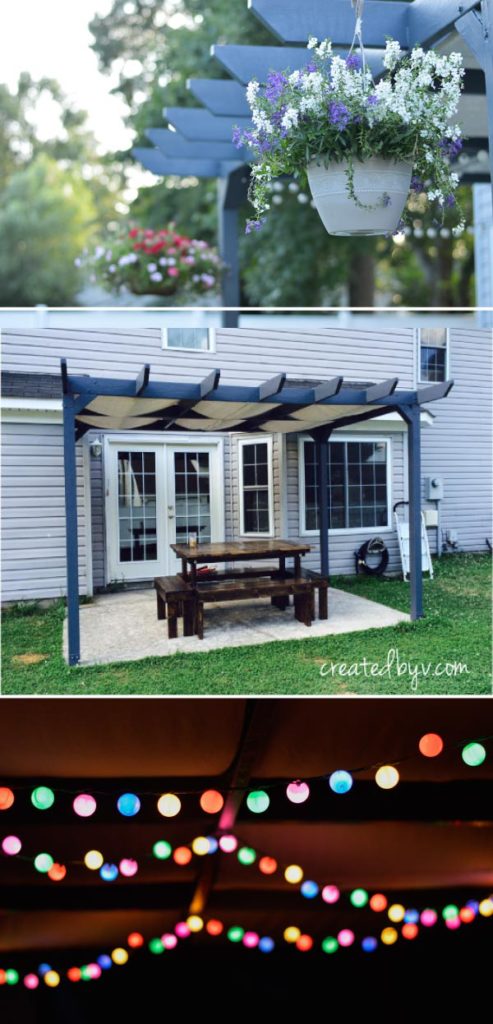
REDECORATE. Two coats of KILZ exterior primer and some white caulk to fill cracks and carpenter bee holes, and we were ready to paint our pergola. We decided on a color with a greater contrast to the house: Behr’s Pencil Point. {Lowe’s was able to recreate the color so we used two coats of Valspar’s exterior paint in satin.}
Since a pergola is an open-air structure, we added a covering to provide shade. Inspired by this post, we bought a heavy-weight 9×12 drop cloth and cut two strips for weaving under and over the crossbeams. I cut each strip to about 40″ wide, ironed a 1/2-inch seam and sewed a hem along the cut side. I added a small strip to the length of each strip to allow some sag in the weaving instead of pulling it tight across the top. We staple-gunned the drop cloth to the top of the pergola and voila!

We also carefully nailed a set of DIY patio lights {Christmas lights + ping pong balls} to add delightful ambience in the evenings. A nautical outdoor rug and lovely hanging flower baskets capped our outdoor living space, and now we have a shady locale to entertain and wind down after a long day. Come on over and let’s have a few beers! — v.



Beautiful! Good work Chief! The ping pong lights are ingenious!
Thanks, Barb! I think it’s a less expensive but equally fun alternative to pricey patio lights. I’ll post a very simple tutorial soon so you can diy!
So cool!!
Thanks, Amanda! I appreciate you stopping by and leaving a comment! Hope all is well with you and your crew!