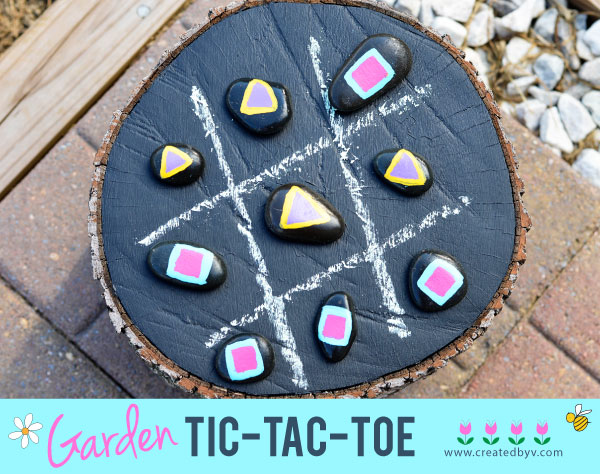
My four-year-old son recently learned the game of tic-tac-toe. We played it several times while waiting for our food to arrive at a restaurant. He was instantly hooked and wants to play all the time now.
So when I saw this episode of The Weekender by Lowe’s, I was inspired to create an outdoor tic-tac-toe board using a tree stump as the base. I had a few stumps on hand from when we removed ailing and poorly placed trees from our property. I also had some chalkboard paint left over from my magnetic chalkboard project, so I used it as my backdrop instead of painting the tic-tac-toe grid directly on the stump.
Here’s how this adorable game came together:
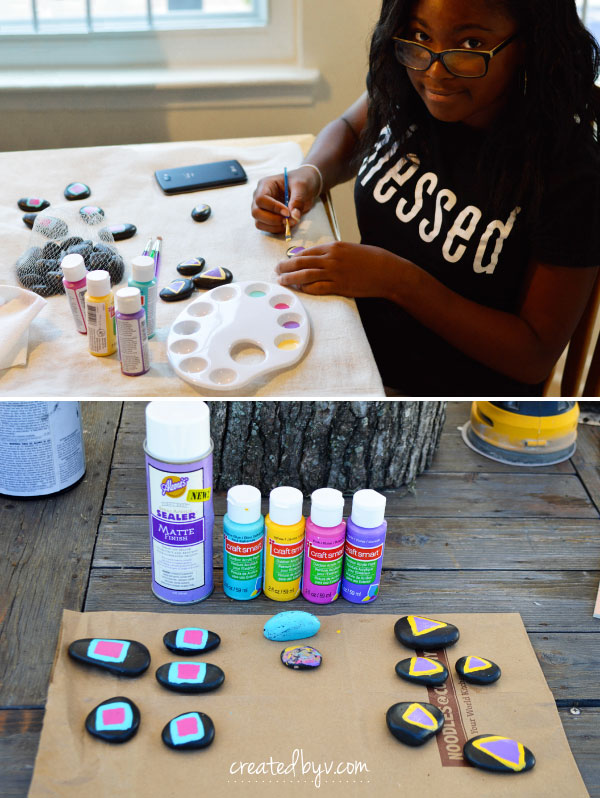
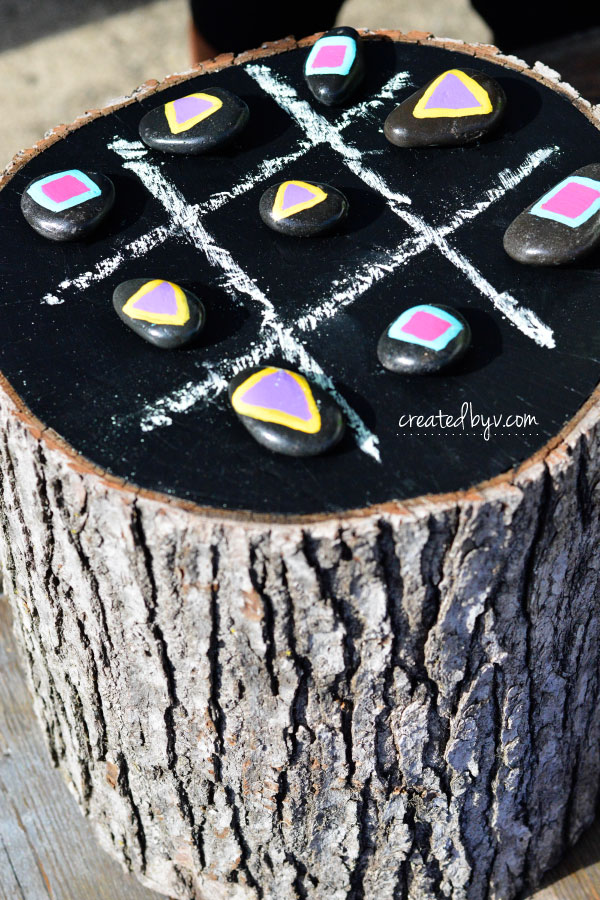
1. For the game pieces, paint two sets of river rocks.
I got a bag of river rocks from the dollar store and enlisted the help of my artistic niece to design two sets of game pieces. She came up with squares and triangles versus the traditional x’s and o’s, but the sky’s the limit. Have some fun!
She painted five rocks of each design using outdoor acrylic paint. Once the paint was dry, I sprayed the rocks with a sealer so the paint wouldn’t chip off. Game pieces ready to go!
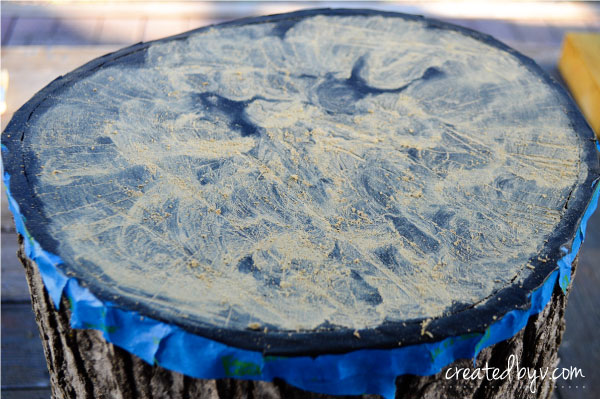
2. For the board, start by slathering the top of the stump with wood filler.
To get a somewhat smooth and even playing surface, I filled the cracks and crevices on the top of the stump with wood filler. Maybe it was a little extra, but there’s a ton in a tube and I only ever use a small amount for projects anyway, so why not? I gave it a try and liked the way it came out.
The character of the wood remains, but now the game pieces lay flat instead of falling into the deep grooves.
After the wood filler dried, I gave it a quick sanding and cleaning so it was ready for paint. I taped off the bark of the stump to maintain the character of the tree.
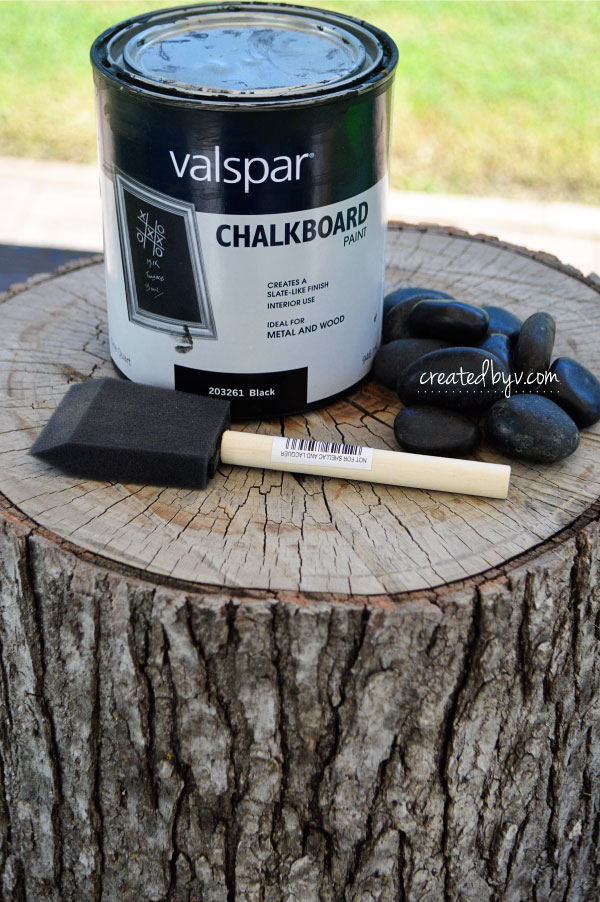
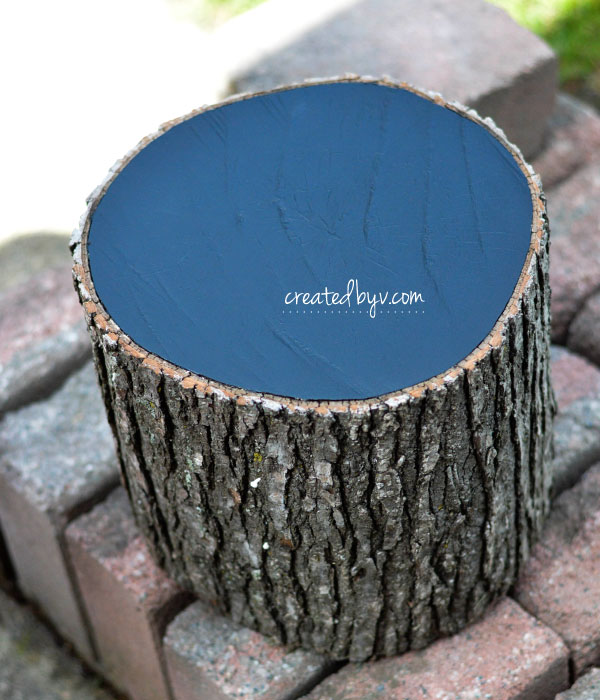
3. Paint 2-3 coats of chalkboard paint.
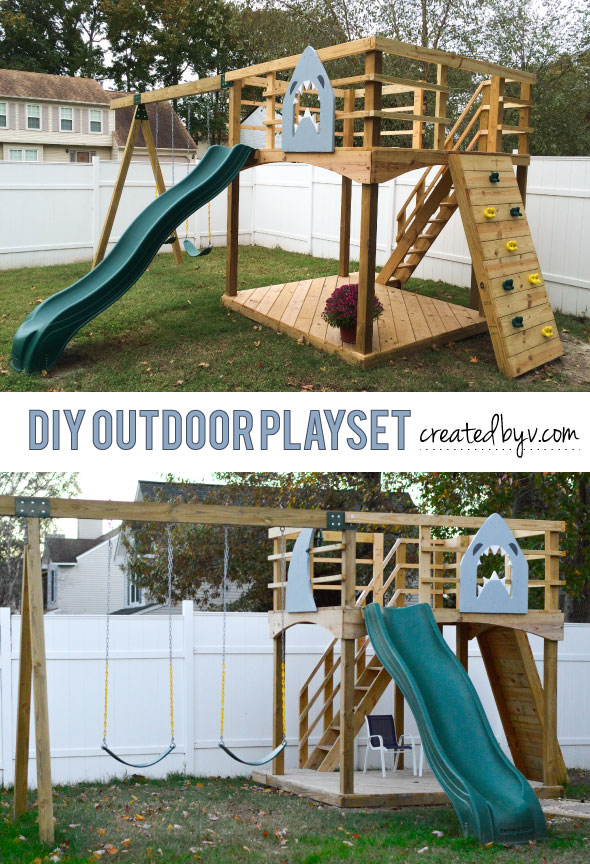
This can of Valspar chalkboard paint says its for interior use, however I’ve used it for an outdoor chalkboard on my kids’ playset and it’s holding up just fine through hurricanes and heat.
Yes, this is an easy, inexpensive DIY project, but it doesn’t have to be sloppy! Would you just look at this beautiful surface?!
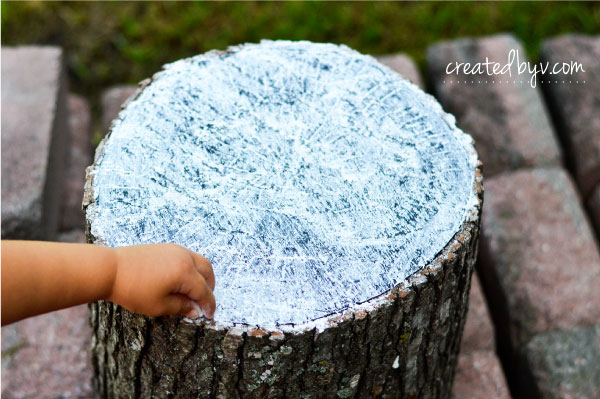
4. Season the chalkboard.
Before you start writing or drawing, season your slate surface to avoid ghost images. Using the side of a piece of chalk, work the chalk into all the nooks and crannies. My daughter had a ball with this step of the project.
Rinse it clean and you’re ready to rule at tic-tac-toe!
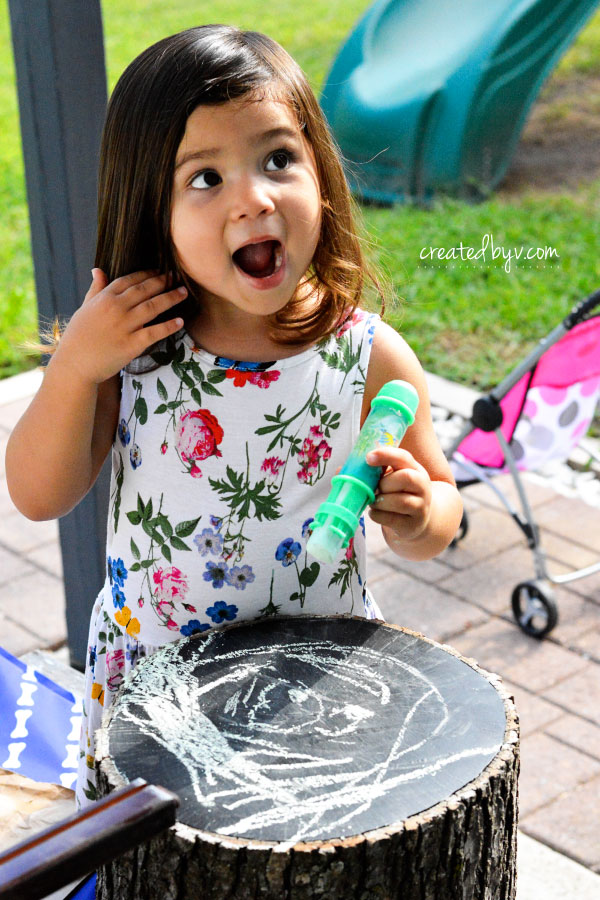
My kids like to draw on it, too.
It’s such a simple and fun addition to backyard playtime. And the best part? It cost only $1 to make with the items I already had on hand. Enjoy! — v.


Awesome idea!!! Giving me other ideas for this. Thanks!!!!
Can’t wait to see what you come up with, Deb!