Since we bought our home two years ago, gardening, landscaping and houseplants {oh my!} are all I can think about come spring. My green-thumb dabblings began with pre-arranged containers that hung from our pergola in the backyard. I loved how they instantly added interest, color and life to our outdoor space.
I’m no master gardener, but I don’t mind getting my hands dirty with my own curated collection of plants and flowers. Please allow me to share how to make a lovely hanging plant basket in four easy steps.
STEP 1: CHOOSE A CONTAINER.
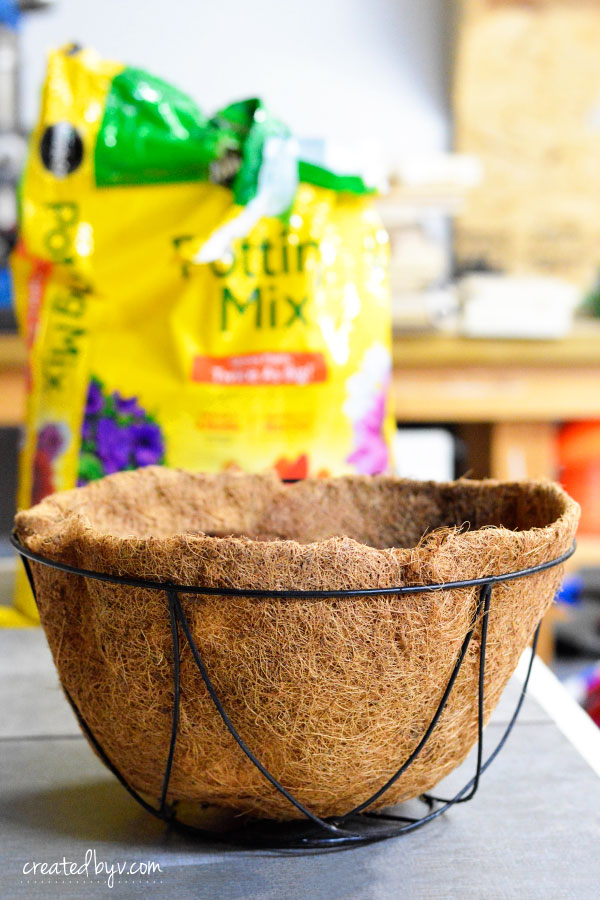
You can buy them, make them or repurpose them; the options for planters are plentiful. Find one with good drainage, adequate space to house your arrangement and best suits your style.
I reused a hay rack basket from last summer. With a new coconut coir liner, it’s ready for another season!
Here’s a tip: Place a clean disposable diaper in the bottom for extra water retention. Before placing the disposable diaper, carefully cut 3-4 slits to allow for air circulation and drainage and avoid root rot.
STEP 2: FILL WITH QUALITY POTTING MIX.
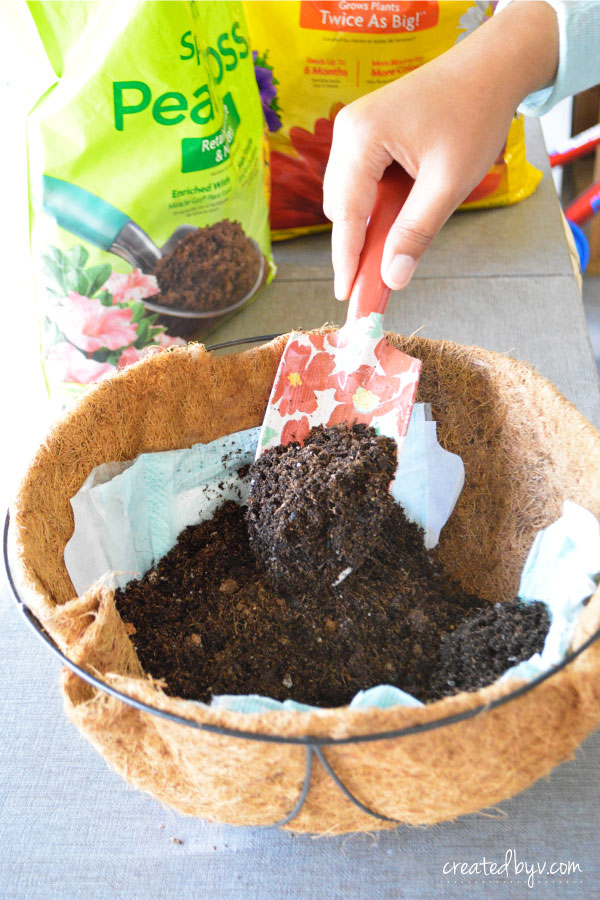
Give your plants the best chance to thrive by using a quality potting mix — not garden soil. Fill the container about 2/3 full, insert your plant arrangement and fill the gaps with more potting mix.
I used a blend of potting mix and peat moss and leveled the basket about an inch from the rim.
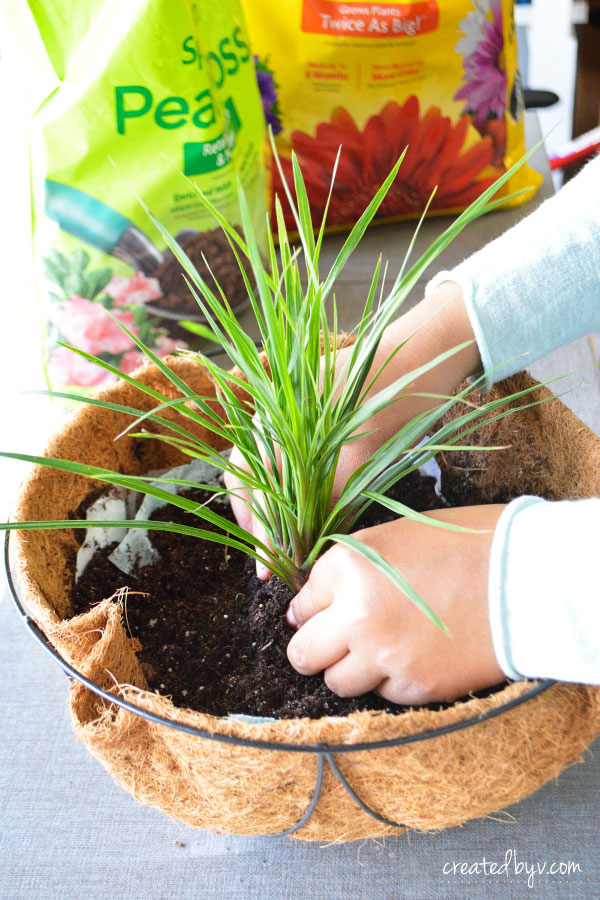
STEP 3: INSERT PLANTS.
Start with a focal plant in the center of the basket. Plants like celosia or salvia are great choices because they add color or texture and won’t get lost as the arrangement matures.
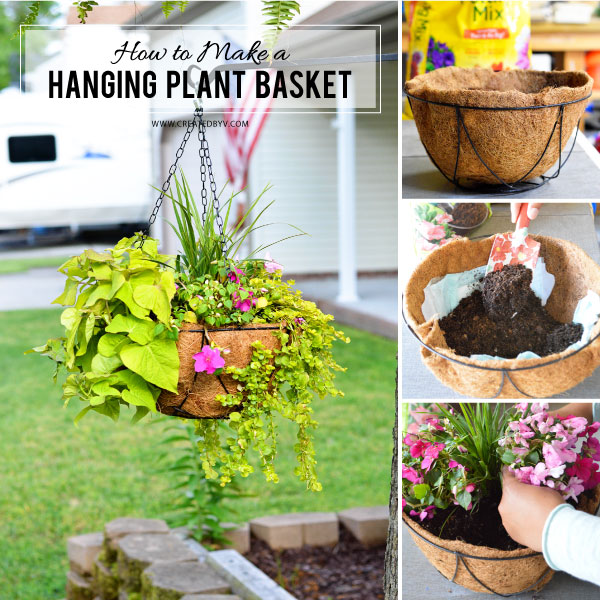
In this basket, I used a spike dracaena as the primary plant.
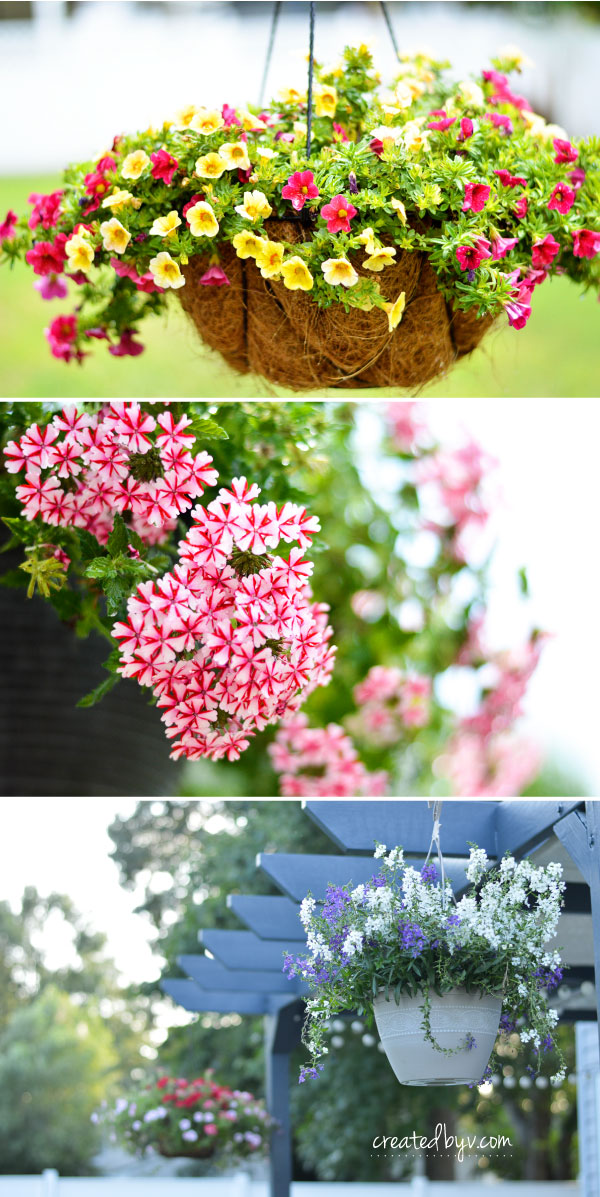
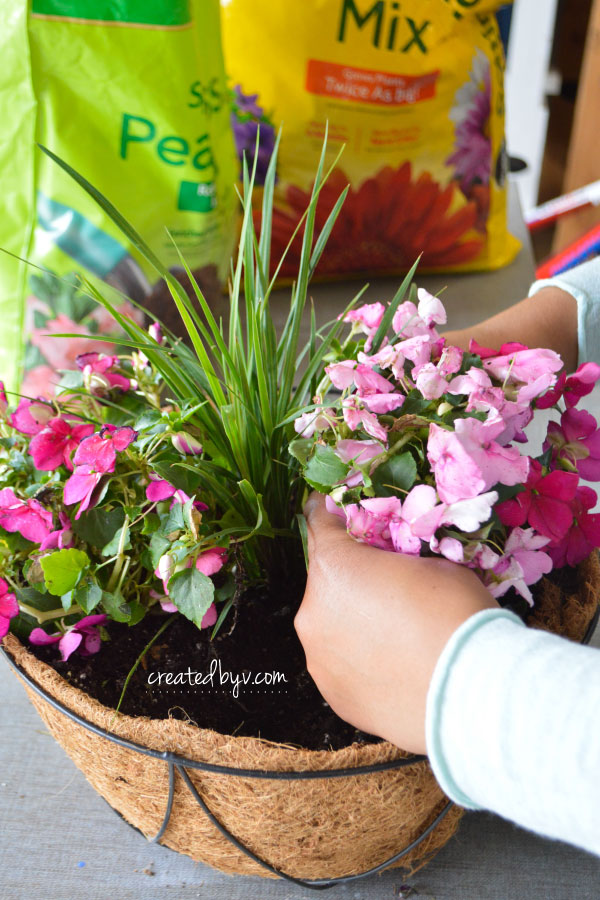
Next, surround the primary plant with vigorously flowering ones. Calibrachoa, petunias or verbena will provide steady color throughout the season.
Quite honestly, you can fill the entire basket with one of these flowers in a lovely mosaic of colors. Apply the tip below to achieve a striking ball of blooms. When choosing a flower, consider one that doesn’t require deadheading so you won’t need to bring the basket down for maintenance.
As for my basket, a blend of pink impatiens serve as a pretty pop of color.
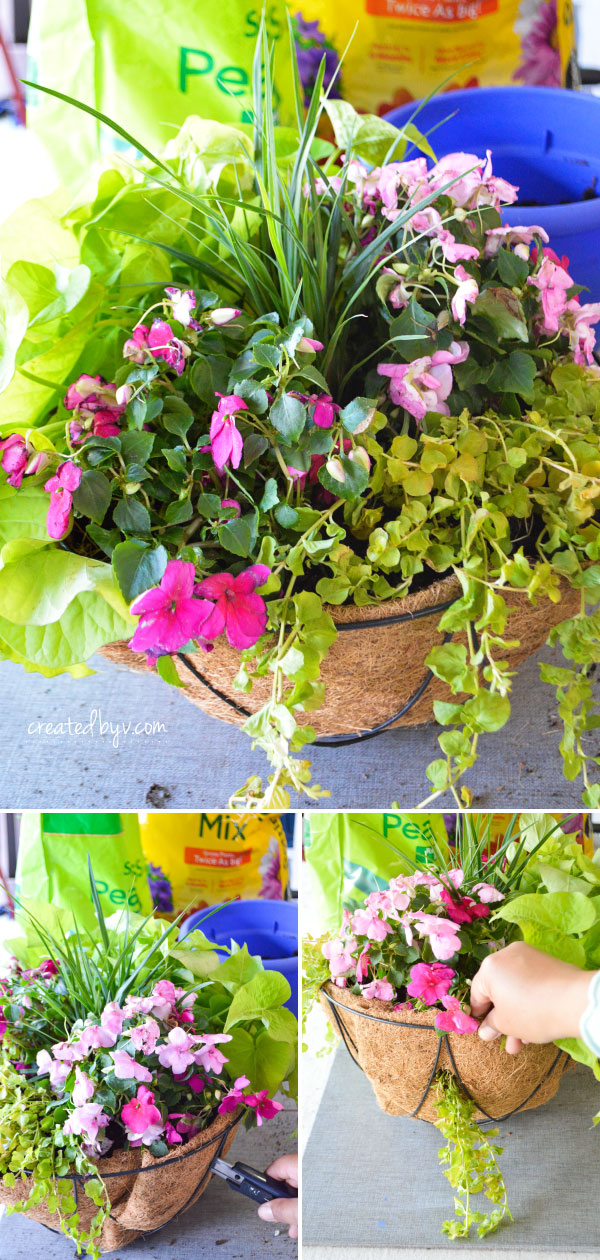
Last, but certainly not least, add spilling plants to the edges of the basket. Trailing flowers and plants such as sweet potato vine and creeping jenny (below) add pizzazz while softening the overall look.
Here’s a tip: To achieve the blooming ball effect, plant a few of the trailing flowers and plants into the sides of the basket. Carefully cut a slit with a utility knife through the liner and insert the root ball.
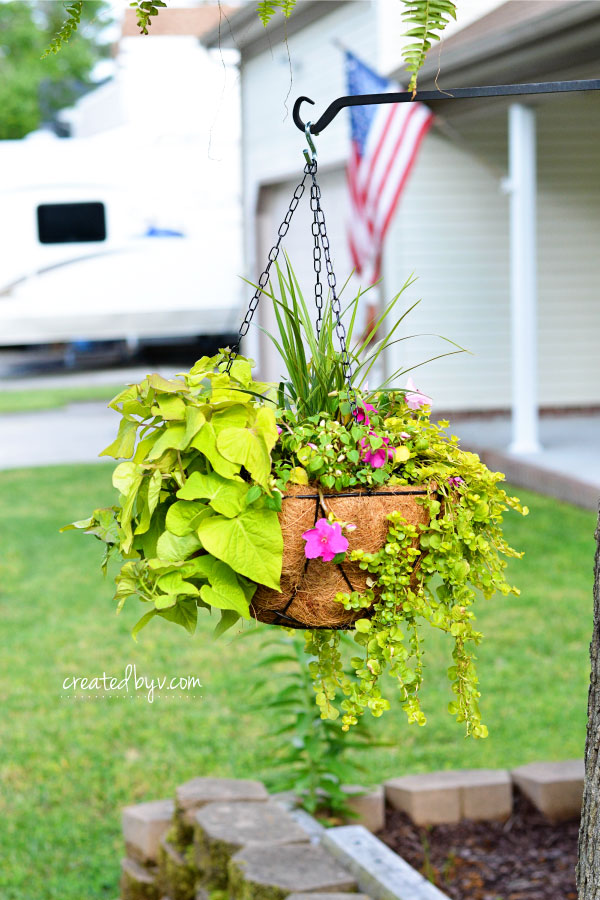
STEP 4: WATER AND ENJOY!
Like my impatiens pictured above, your plants may look quite droopy until they adjust to their new home. Water them daily, and soon you’ll be rewarded with a dazzling display that you created with your own two hands!
For gorgeous planters and fresh floral arrangements to duplicate or ignite your own creativity, I invite you to follow my Gardening Board on Pinterest. Happy Planting! — v.


I’ve never seen the trick with the slit cut in the side of the basket… clever! That’s a very pretty assortment of flowers and foliage too.
Thanks so much, Kathleen! While garden shopping, I saw a basket with openings around it — you slide open a little door, insert the root ball and then close the door to secure it in place. Cutting slits in the coco liner is the same concept, just much less expensive! I think the blooming ball concept looks phenomenal with flowers like million bells and petunias!
Looks fantastic!! I can’t wait to have a front porch to hang beautiful flowers. Did you guys put in a front porch? Looks like it. Need pics!!!
Wish we had a front porch, too, but there are trees on the other side of the driveway that have iron hangers already in them from previous tenants. I hung two Boston ferns this spring, and there’s still space for a few more baskets. It’s a nice partial shade spot versus our super sunny backyard. Thanks for reading and commenting, Deb!