While searching for centerpiece ideas for our Thanksgiving table, I was inspired by a post from Jones Design Company. It’s definitely worth the read, but the gist of what I took away were to: (1) cut flowers short and (2) bunch them into an awesome vessel.
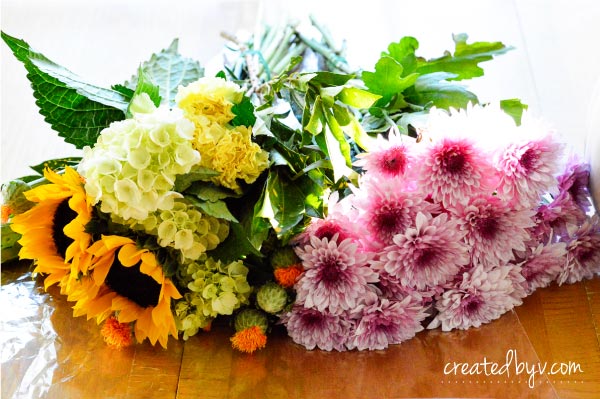
With those tidbits of wisdom in mind, I set out to arrange these fall bouquets that I bought from my local grocery store for about $15.
First up, a vessel.
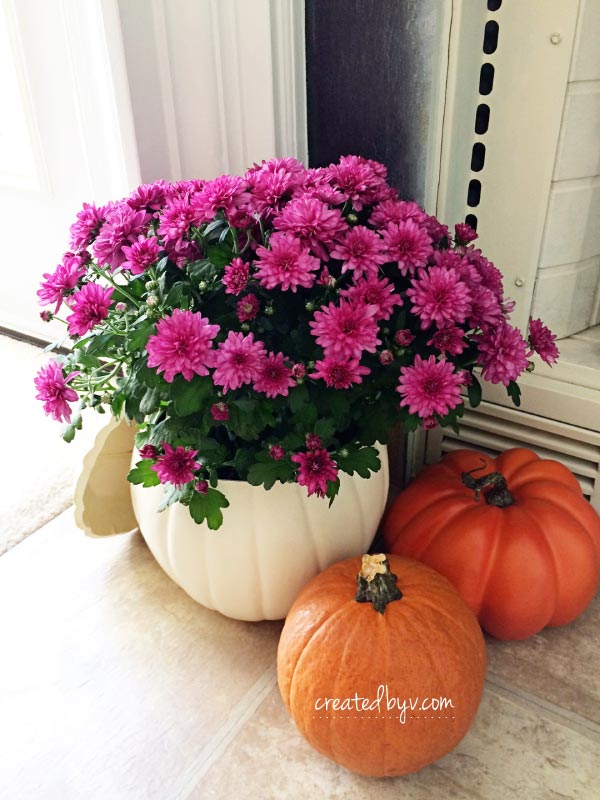
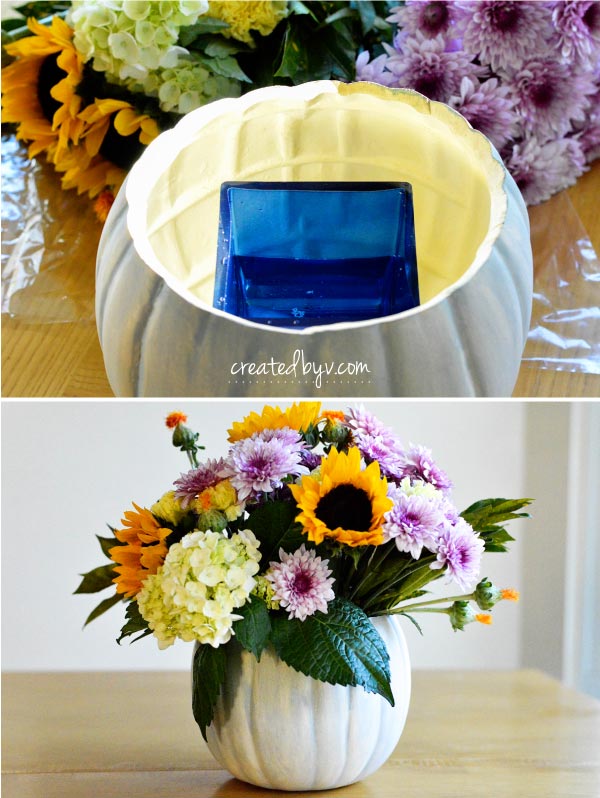
I happen to have a white craft pumpkin that I previously planted a mum in to decorate the hearth of our fireplace. I’ve since planted the mum in my garden so the craft pumpkin was free and clear for a new function.
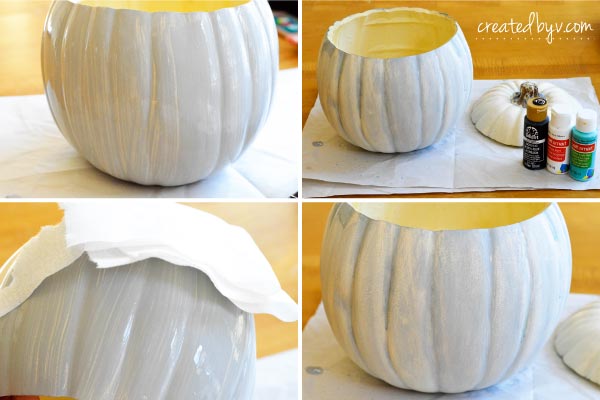
Instead of just plopping flowers into a plain ol’ white pumpkin, I gave it some character thanks to this tutorial by Diva of DIY. She uses only orange ones in her examples, but I gave her glazing technique a go on my white pumpkin anyway.
I made a light grey for the glaze, and then added some water to thin the acrylic paint. I brushed the thinned paint onto the pumpkin with a chip brush, and then gently wiped it with a paper towel. Once the grey coat dried, I mixed in turquoise and gave it another layer.
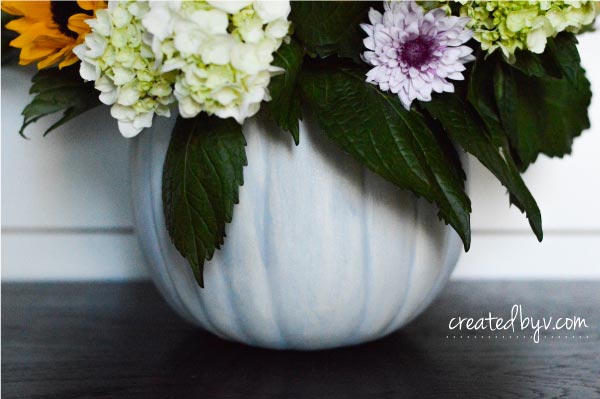
Ah, now this is a vessel worthy of display! I absolutely love the result, don’t you?
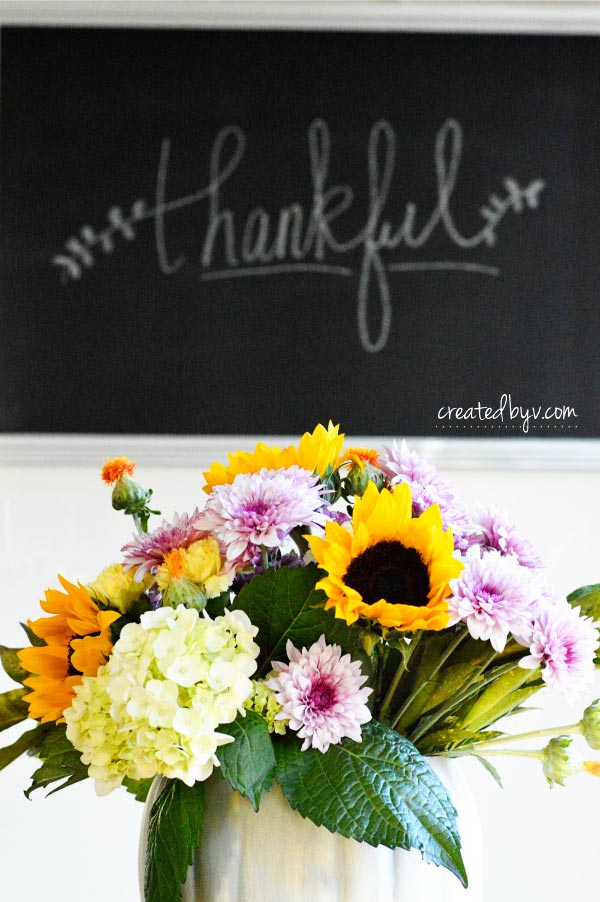
After the pumpkin dried, I began the delicate and precise art of flower arranging… or in this case, I cut the stems short and bunched them into a vase that I placed inside the pumpkin.
I love bringing fresh flowers into our home, and holidays are usually worth the investment for a professional arrangement. This year, however, we are keeping our Thanksgiving simple with no turkey and no guests. I still want something special — without a heavy price tag — and this was the perfect solution.
I’ve since used this pumpkin to make a fall centerpiece with faux florals as well, but nothing beats the beauty and allure of fresh flowers. Now, does anyone have any tips on how to make grocery store flowers last a little longer?
Thanks so much for reading! Wishing you and yours a very happy Thanksgiving! — v.
