After we built a pergola over our concrete patio, I was excited to decorate with fun patio lights. Call me cheap, but I was a little surprised by the price: a string of 25 clear globe lights costs $40 at Crate and Barrel, $26 on Amazon and $15 at Target.
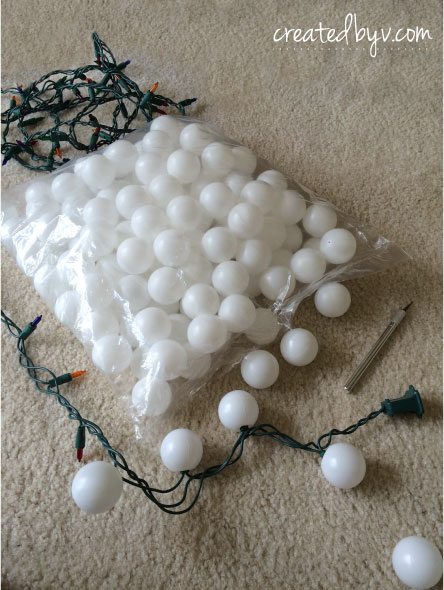
Since I already had strings of lights in my Christmas decoration box {I’m sure you do, too} that are approved for outdoor use, I set about finding a way to use them instead. I had two sets each of white and multi-colored lights that I bought on sale after Christmas last year. Each string has 100 bulbs.
To start, I bought a bag of 144 ping pong balls from Amazon for $7.
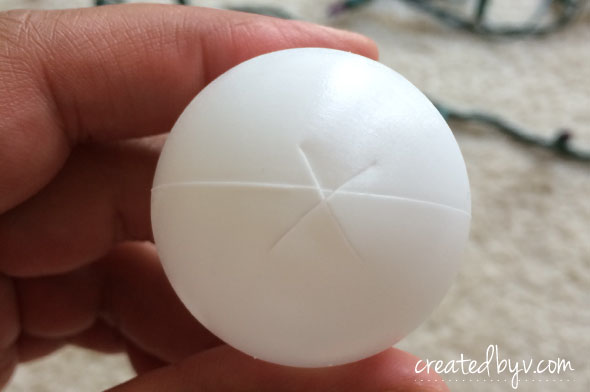
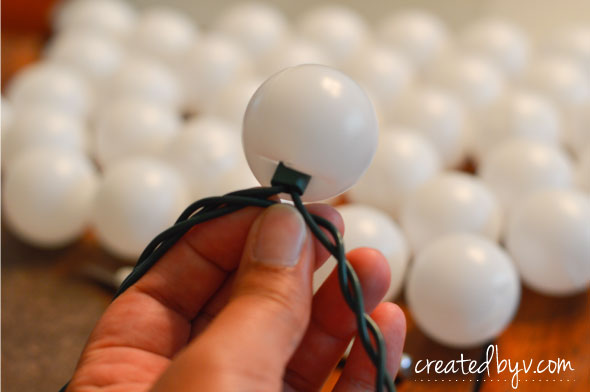
I cut an “X” in each ball with an X-ACTO knife and pushed the bulb through the hole.
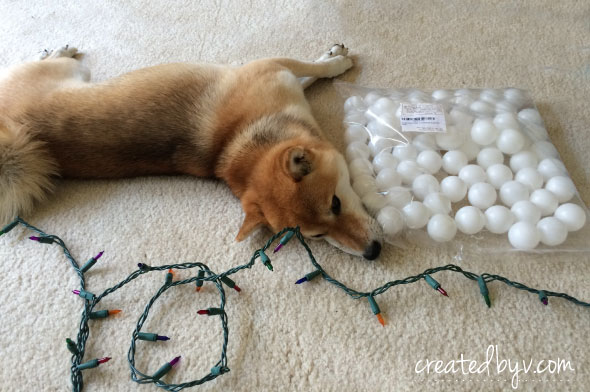
Kona “helped.” :)
The bulbs are not in contact with the ping pong ball — they are completely inside the ball.
That’s it! It took me less than an episode of Paw Patrol to have my string of lights ready.
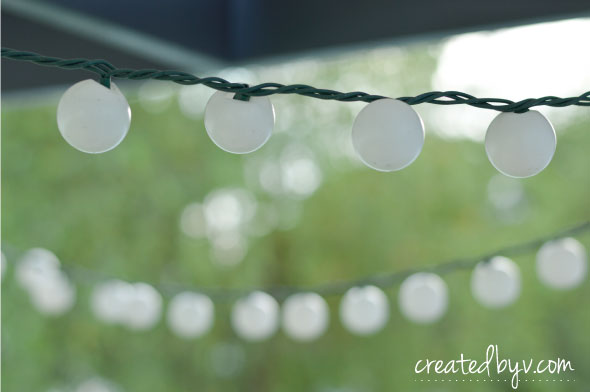
I have to admit the first day I put them up, I thought they were a little tacky. My friend confirmed my fear, too: they looked like ping pong balls during the day.
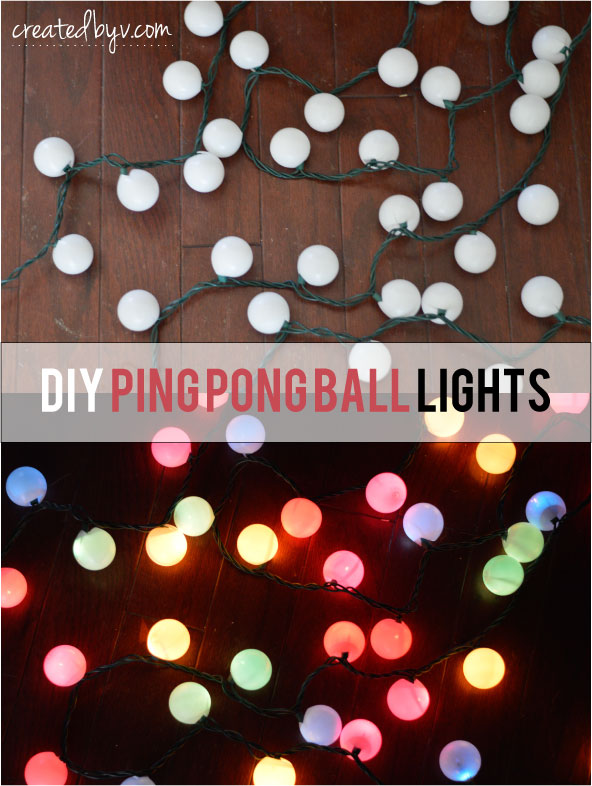
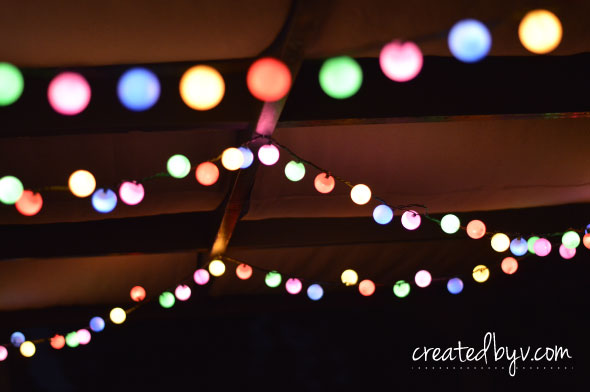
BUT I gave them a chance and that night when I turned them on, they were perfection! Bright, beautiful and fun!
I used only one string to drape lights along our pergola and opted for the multi-colored ones for fun and festivity {white lights would work just as well}. I couldn’t be happier if I had spent the money to get the real deal. Instead, I am satisfied to have used what I already had on hand and only spent $7 on ping pong balls to get the same warm glow.
So if ambience and festivity are what you want without a hefty price tag, then DIY Ping Pong Ball Lights are the way to go! — v.
SOURCES FOR DIY PING PONG BALL LIGHTS
string of multi-colored lights
bag of ping pong balls
x-acto knife
UPDATE: I’ve had my string of ping pong ball lights up for over a year and I still love the ambience they create. They’re up year-round so some of the balls blew away in storms and a few bulbs burnt out. Both were easy replacements.
The only ‘problem’ I’ve had was that rain water would get trapped inside them. It would eventually evaporate, however a reader recently provided a terrific solution that I am including today as a smart improvement to this DIY project: add a pinhole to the bottom of each ball to allow rain to drain. Such an easy fix!
To ensure proper alignment, cut your X along the seam as described above, then stick a sharp needle or straight pin through the ball along the seam on the opposite side. Hang and enjoy!



Do you have a source for the lights you used thal solar?Ll
Hi Linda: These lights are similar to the ones I used to make ping pong ball lights for our pergola. They are rated for outdoor use, but they are not solar-powered. Hope this helps!
I’ve been looking for a way to put some lights on my porch. I like sitting out at night sometimes. This is a wonderful idea.. Just wish it was in print so I could pass it on to my friends who don’t have computer’s. Five stars.
Thanks, Lois! I do love the lights at night; they add a certain charm and festivity! I hope you’ll give it a try for your porch, too. I’ll email you the how-to so you can print and share. Thanks again!