Thank you for purchasing the shark party invitation!
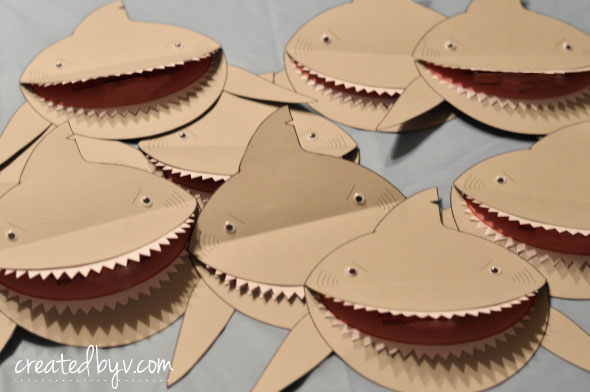
I hope you will have as much fun as I did assembling them into the Great White-ness you see below
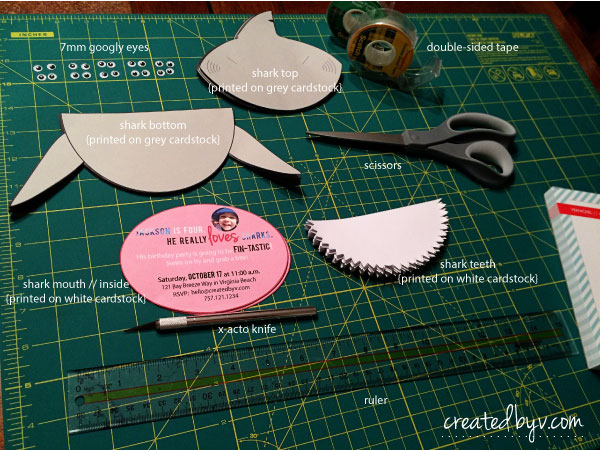
To get started, please gather the following supplies.
Shark Invitation Materials List
- Grey card stock
- White card stock
- Scissors / x-acto knife
- 7mm googly eyes
- Double-sided tape
- Glue / glue dots
- Ruler
Next, please follow this step-by-step tutorial. If you have any questions or concerns along the way, please feel free to contact me via this website or email. I am happy to help!
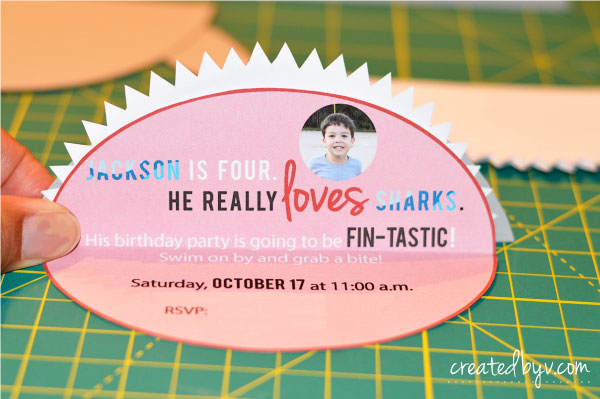
{step 1} Print the templates.
Print the shark body — top and bottom — on 8.5 x 11″ standard letter-sized grey card stock. Print the teeth and the inside of the mouth on 8.5 x 11″ standard letter-sized white card stock. The shark body parts and teeth require only black ink while the inside of the mouth is full color. There are two invitations per sheet of paper.
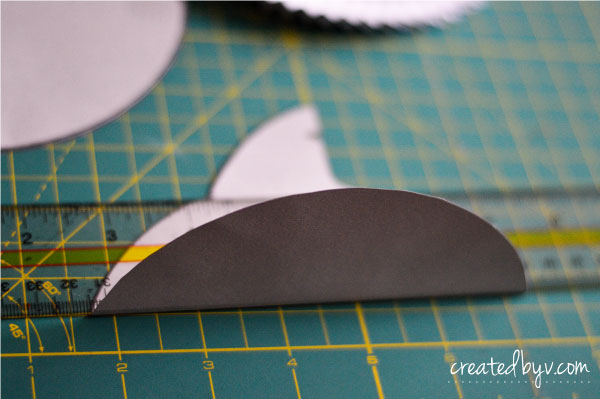
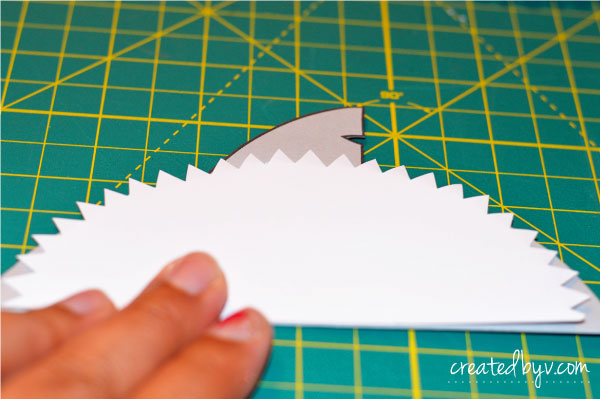
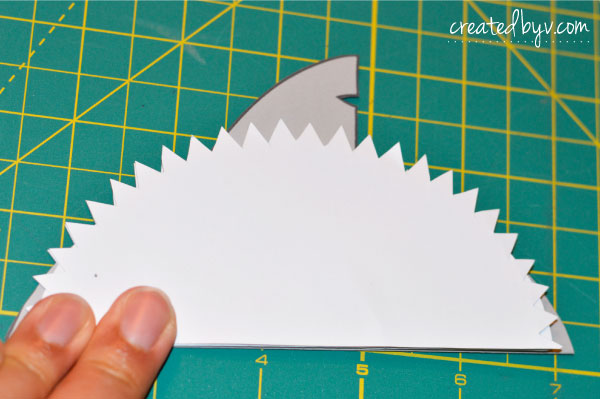
{step 2} Cut out all the pieces.
Get comfy in front of the television with your favorite show on DVR because it will require some time and patience to cut these little guys out. The templates have thick outlines, which provide some leniency when cutting by hand. The teeth are the most tedious, but they are so worth the blisters. I experimented with zig-zag scissors, but it didn’t deliver a sharp enough ‘bite.’ These teeth scream, “Shaaark!” so don’t skimp on this step. Take your time, spread the cutting out over a few nights and enlist the help of a friend or two.
{step 3} Assemble the pieces.
I chose to use double-sided tape for an instant stick and cleaner finish. Here is how to put the pieces together evenly:
- Using a ruler or straight-edge as a guide, fold the mouth portion of the head upward.
- Align a set of teeth on top and tape center and corners.
- Fold the inside in half and align with above portion. Tape center and corners.
- Align the other set of teeth on top and tape down center and corners.
- Align bottom of shark {printed side down} and tape center and corners.
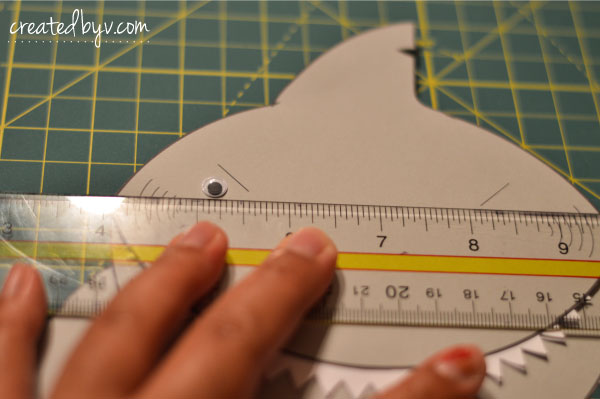
- Glue googly eyes between the eyebrow and gills. Use a ruler as a guide to align both eyes.
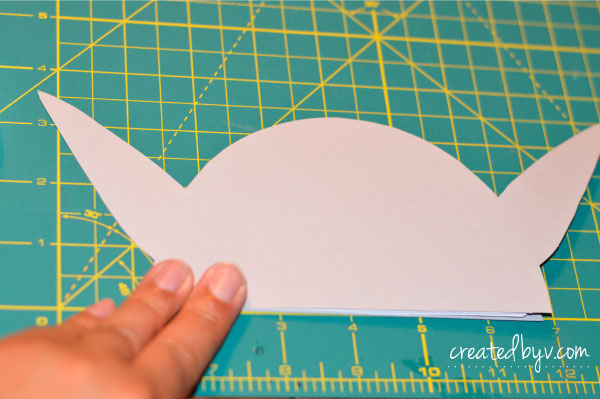
{step 4} Hand deliver or mail.
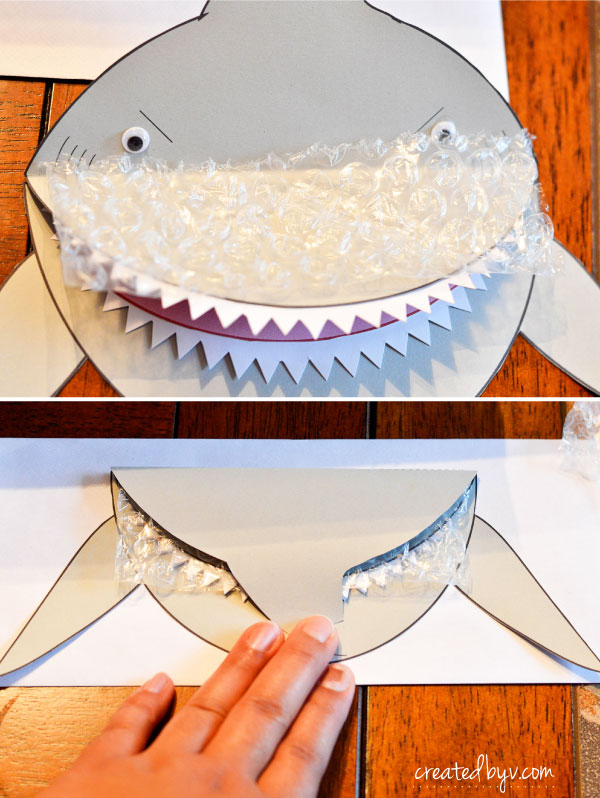
We hand-delivered most of our invitations, but for the few we mailed, I folded it like this with a strip of bubble wrap to protect the googly eyes. It fit nicely in a standard size 10 business envelope. No additional postage required.
So how do you like these little shark guys? Would you kindly leave a review here? Thanks so much! — v.
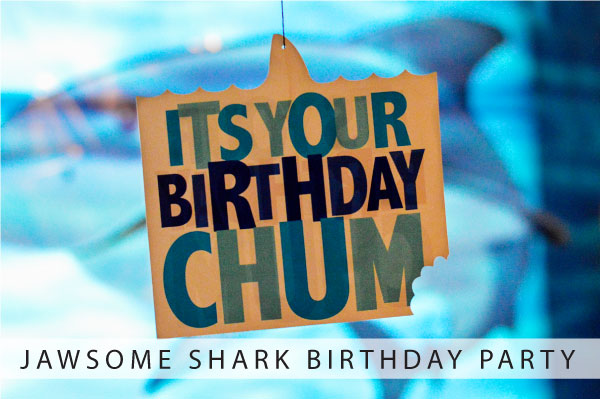
Get more shark-themed inspiration from this Jawsome Shark Birthday Party!