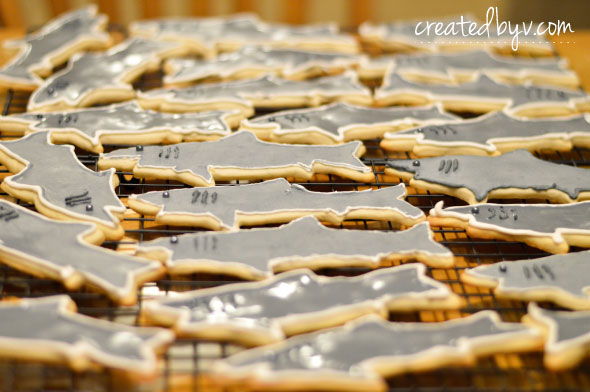
I have always admired the look of decorated sugar cookies, but they often failed to impress upon my taste buds. They’ve been rather dry and flavorless, dressed up with overly sweet icing in an aesthetic attempt to compensate for being a boring cookie.
That is, until now.
I came across this little cookie jewel of a blog while I was brainstorming ideas for my son’s shark birthday party. I thought her cookies were adorable, and I found her tutorials easy to follow and fun to read. I decided to give her recipes a try and make shark cookies for my son’s preschool class in celebration of his birthday.
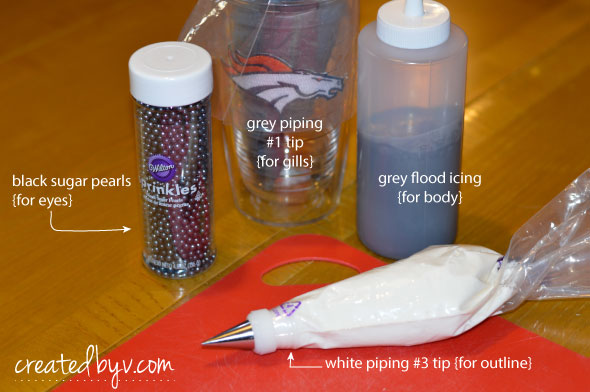
I already had a shark-shaped cookie cutter that I use mostly for making pancakes. Aside from the recipes below, you’ll need these other items to re-create the shark:
- black sugar pearls for the eyes
- black icing color for the body
- piping bags, coupler and piping tips #1 and #3 for outlining and details
- squeeze bottle for flooding
- chopsticks or tweezers + toothpicks
Start by making the cookie dough. The almond extract is what really sets this cookie apart for me. It smells terrific and tastes divine. My son’s teacher gave the cookies a rave review, saying they reminded her of ones she used to bake with her mom. Her teaching assistant took a few home for his family. Those are big compliments in my book. And the fact there wasn’t a single shark left the next day.
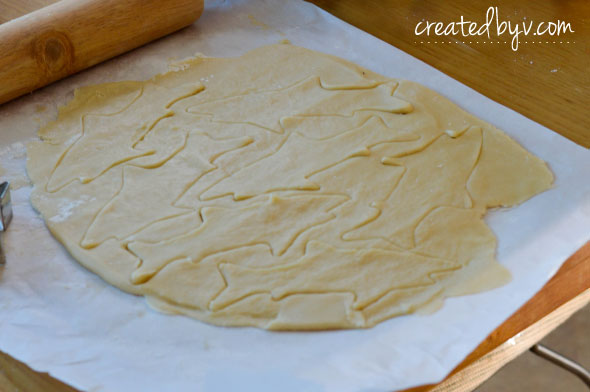
I like that this dough doesn’t need to be chilled. Let it rest for about 10 minutes after mixing and it’s good to go. Roll the dough out on parchment paper or a lightly floured surface and cut out your sharks.
Bake at 400 degrees F for 6-7 minutes. Mine went a little long, — you’ll want to remove them from the oven before the edges turn light brown — but the icing covered it up nicely and they were still soft and light.
Since the cookies were for my son’s class, he was kind enough to help make (and taste test) the icing. He’s an awesome little helper. I spoon and level; he pours and licks the spatula when we’re done.
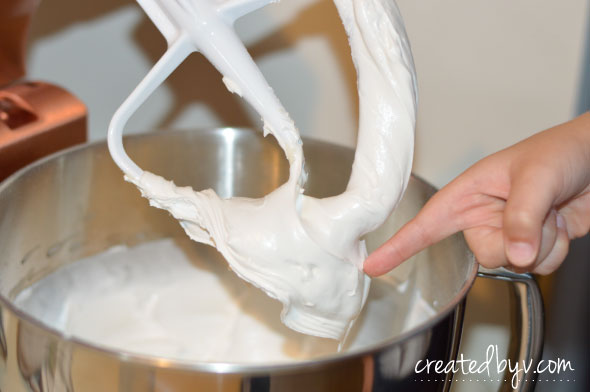
For the icing, start with a thicker consistency — like toothpaste.
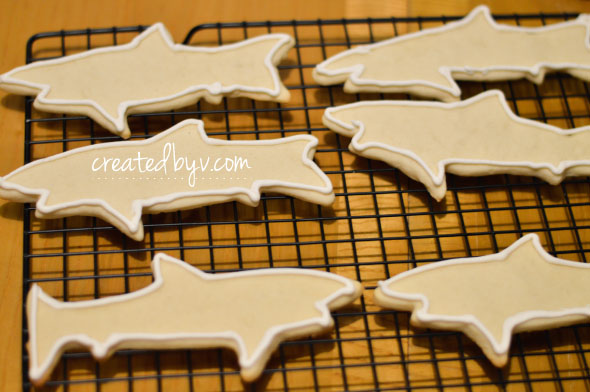
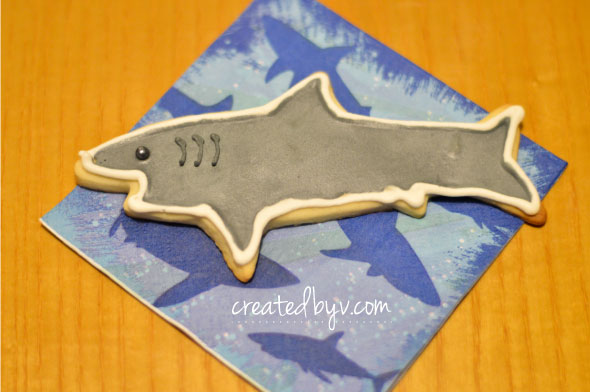
Fill a piping bag fitted with a #3 tip with this white icing to outline the sharks. I tried it with a grey outline at first, but liked the contrast of the white instead.
Next, add just a drop of the black icing color (a little goes a long way) and mix throughout so the piping and flood colors match. Fill a piping bag fitted with a #1 tip with a small amount of the grey icing; you’ll use this to draw gills. Finally, add water to thin to the consistency of shower gel for flood icing.
I used chopsticks to place the eye and spread the flood icing; it made me feel like a cookie ninja!
The other nice thing about these cookies is that you can make them in steps over a few days. Bake the cookies one day. Make the royal icing the next. Decorate a day or two later. I had to get them done in one night, so that’s possible, too.
It was like a shark feeding frenzy on my dining room table!
Even if you don’t bake sharks, this is the perfect recipe for Christmas cookies, too. Enjoy! — v.
DON’T WANT TO MISS A RECIPE?
Subscribe to receive the latest updates directly to your inbox.
Stay in touch on Pinterest, Instagram and Facebook, too.
Thank you so much for reading!
Shark-tastic Sugar Cookies
Ingredients
- 1 cup unsalted butter, softened
- 1 1/2 cups powdered sugar
- 1 egg
- 2-3 tsp almond extract
- 2 1/2 cups all-purpose flour (+1/4 cup, if necessary)
- 2 tsp baking powder
- 1 tsp kosher salt
ROYAL ICING- 3 3/4 cups powdered sugar
- 2 1/2 Tbsp meringue powder
- 4-6 Tbsp warm water
- 1-2 tsp almond or vanilla extract
Directions
- Step 1 For the cookies: Preheat oven to 400 degrees F. Line cookie sheet(s) with parchment paper.
- Step 2 In the bowl of an electric stand mixer fitted with the paddle attachment, cream together butter and powdered sugar. Crack egg into a measuring cup and add almond extract. Pour into mixing bowl and combine well.
- Step 3 In a separate large bowl, whisk together flour, baking powder and salt. Add dry ingredients into mixing bowl little by little. The dough is ready when most of it sticks to the paddle. You may add 1/4 cup more of flour if the dough remains too sticky. Let stand 10 minutes.
- Step 4 Roll out on parchment paper or a lightly floured surface to about 1/4 inch thick. Use flour for dusting as necessary. Cut and bake for 6-7 minutes, removing from oven before edges start to brown.
- Step 5 For the royal icing: Gently whisk together powdered sugar and meringue powder by hand in the bowl of an electric stand mixer. Add almond (or vanilla) extract into half of the water and slowly stir into sugar mixture using the paddle attachment.
-
Step 6
Continue to add remaining water (this may or may not be the entire amount) until the mixture reaches a thick, honey-like consistency. Increase speed to medium and whip until icing is thick and fluffy, about 2-4 minutes. Icing is ready when it forms soft peaks.
Sugar cookie and royal icing recipes are from Sweet Sugarbelle.

