I am so excited to share with you the making of these wood block stocking holders. This is a very easy and inexpensive DIY project that also delivers functionality and a personal touch to your holiday decor.
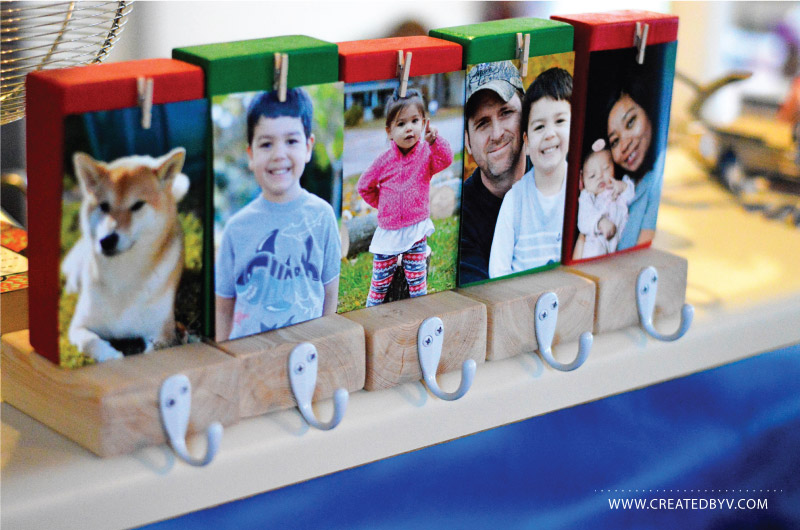
When I originally made these stocking holders, I painted them a festive red and green. Combined with color photos and equally festive stockings however, they became a bit too busy for my taste.
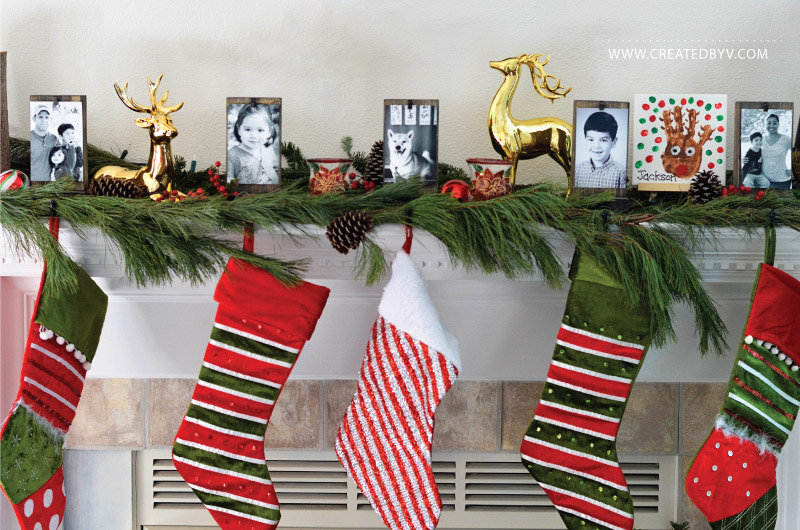
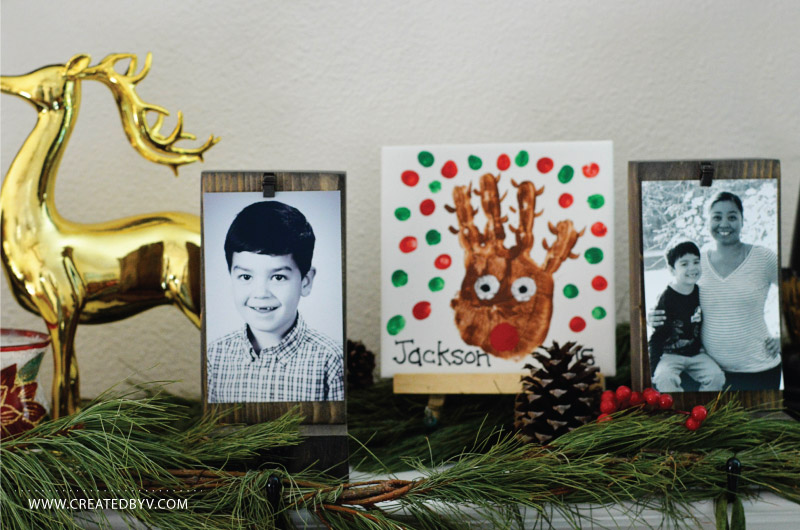
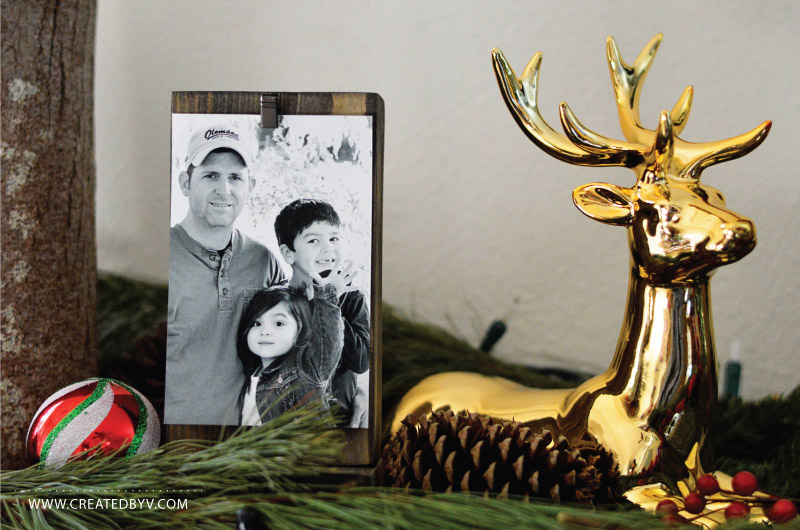
So I made another set that perfectly complements my rustic Christmas mantel decor.
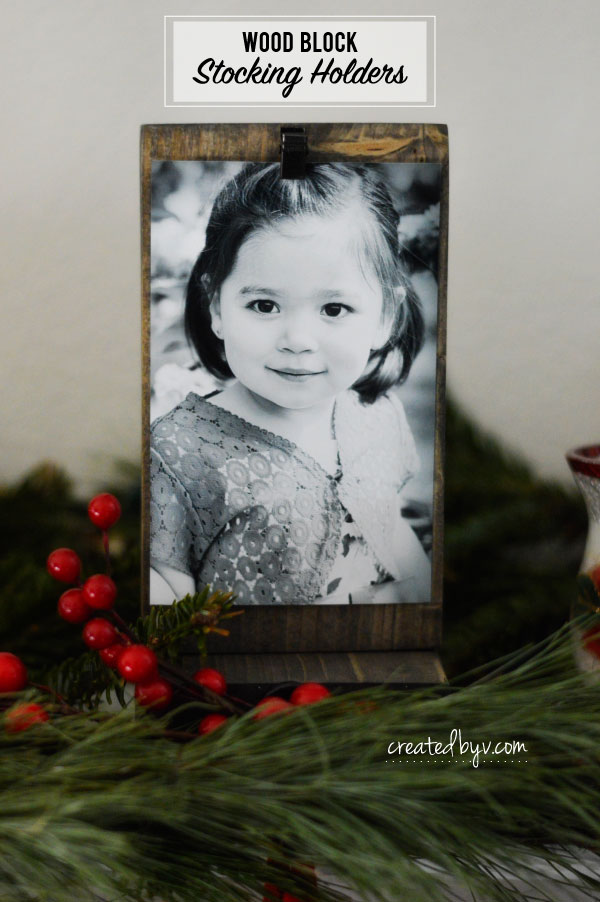
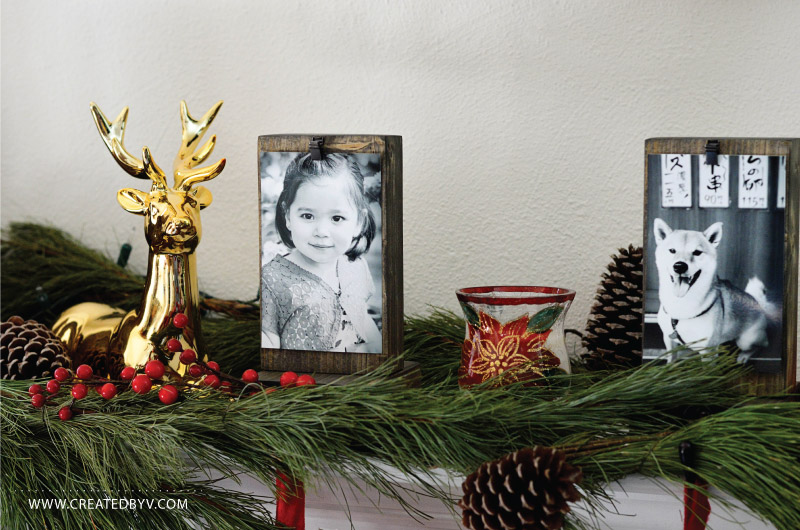
I love the new set. The black and white photos and natural stain blend well with the fresh garland and pine cones along the mantel. I also like that the hooks serve a dual purpose in hanging our stockings and the garland. Lastly, I appreciate that these stocking holders can be used every year by simply updating the photos.
Since my littles still believe in Santa, I wait to fill our stockings until Christmas Eve. I put a piece of double-sided-foamy tape (yes, that’s a technical term) on the bottom of each stocking holder to keep it from tipping over from the weight.
If I can whip out five of these wood block stocking holders in no time, I know you can, too. Here’s how:
Tools & Materials List
- 2″ x 4″ x 8′ framing stud
- miter saw / drill
- sander / sand paper
- spray paint / wood stain
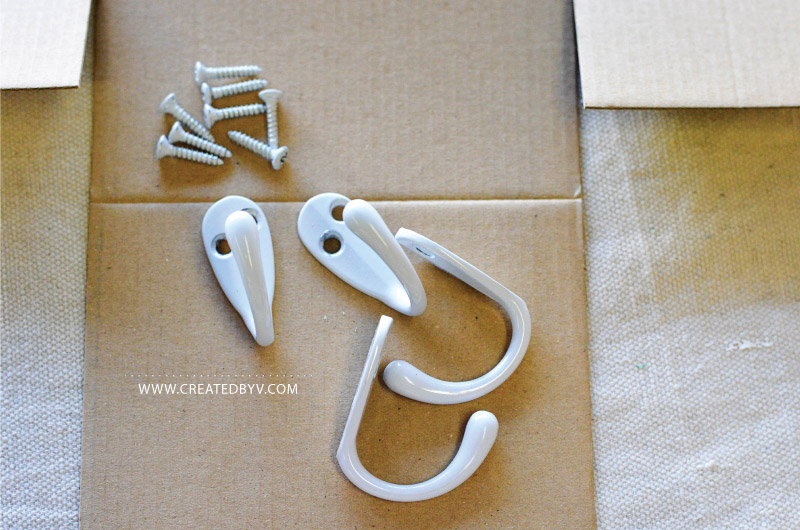
- hooks with screws
- metal clips / mini clothespins
- wood glue / wood screws
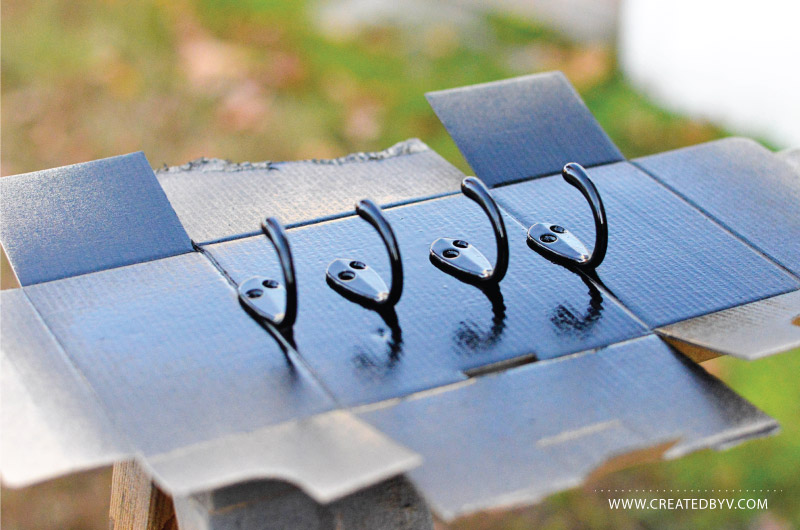
{step 1} Spray paint hardware in a well ventilated area.
I gave my hooks and screw faces 2-3 coats of glossy black spray paint. If you want white hooks, then you can obviously skip this step.
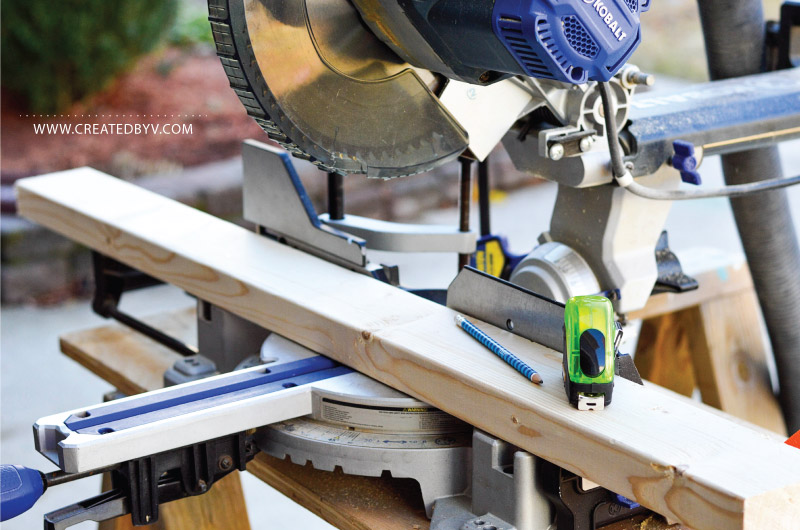
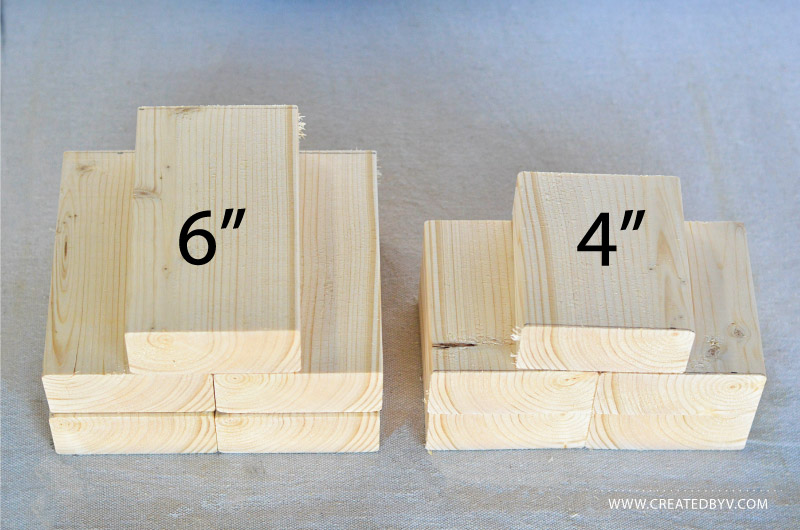
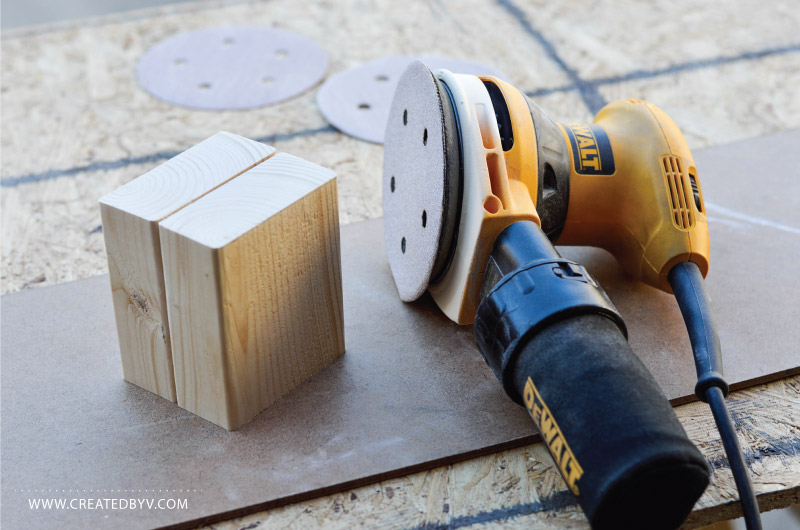
{step 2} Using a miter saw, cut the stud into blocks of two sizes: 6″ and 4″.
Start by cutting a clean straight edge along one end, and then measure from there to cut the wood block pieces.
The 6″ pieces are the standing blocks for displaying photos. The 4″ pieces serve as the bases.
{step 3} Sand, sand, sand and stain.
A 2×4 stud isn’t a fine piece of wood; it’s cheap and usually pretty banged up. However, I got all five of my stocking holders with plenty to spare out of one 8-foot stud. Giving it a good sanding will clean up your blocks without detracting from the “rustic” look of the piece.
After you’ve finished sanding, wipe the blocks clean with a damp towel.
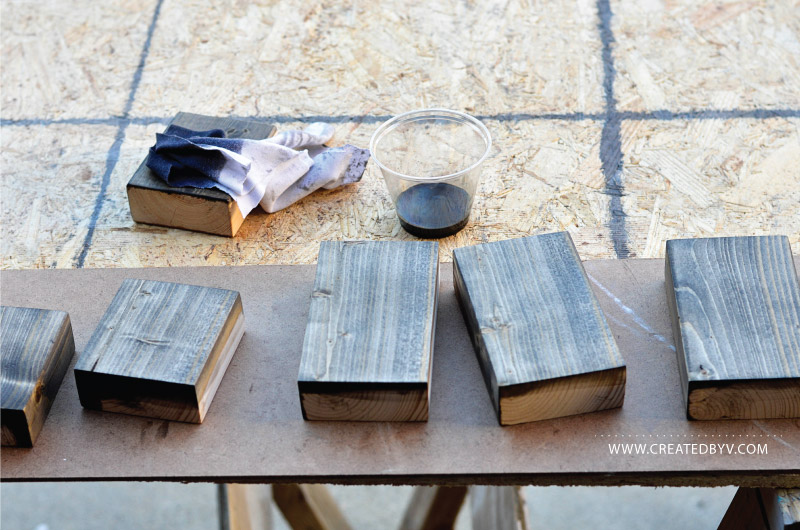
Once the blocks are clean and dry, apply a stain based on your preference. I mixed two stains — Minwax’s weathered oak and a spoonful of ebony — and gave the blocks two solid coats. Since these stocking holders are used indoors and once a year, I didn’t bother applying a coat of poly. Feel free to do so after the stain is fully dry, if you’d like. Let them dry overnight before assembling.
{step 4} Assemble the wood block stocking holders.
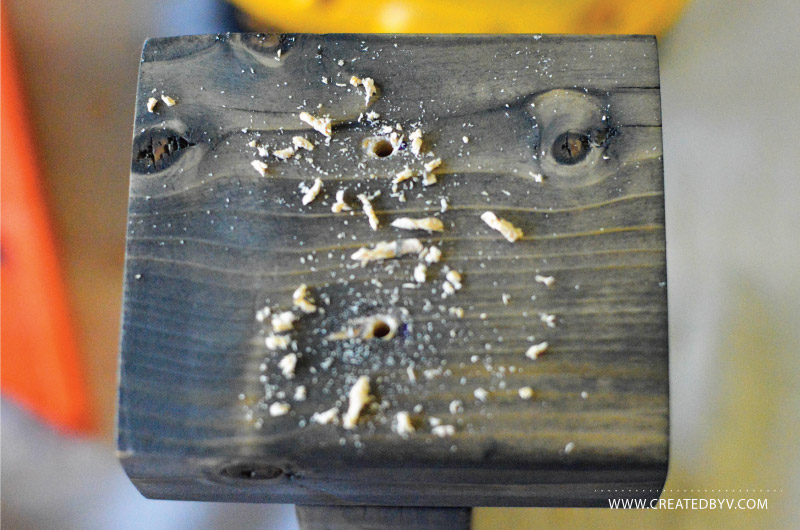
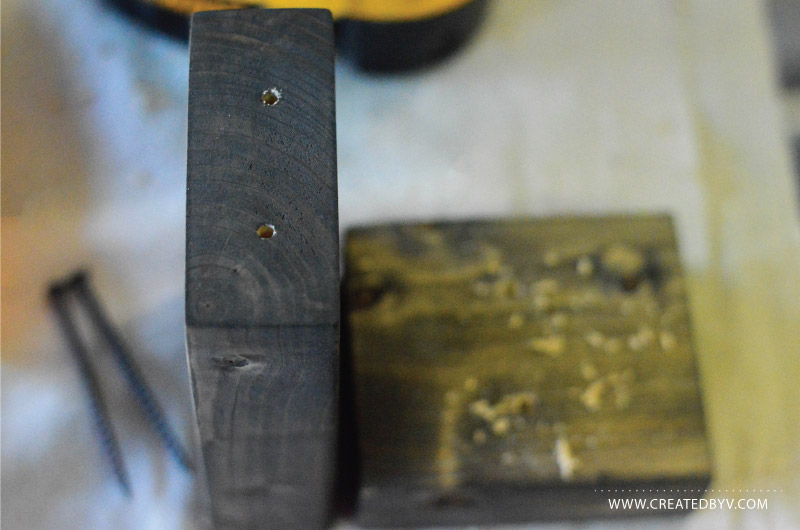
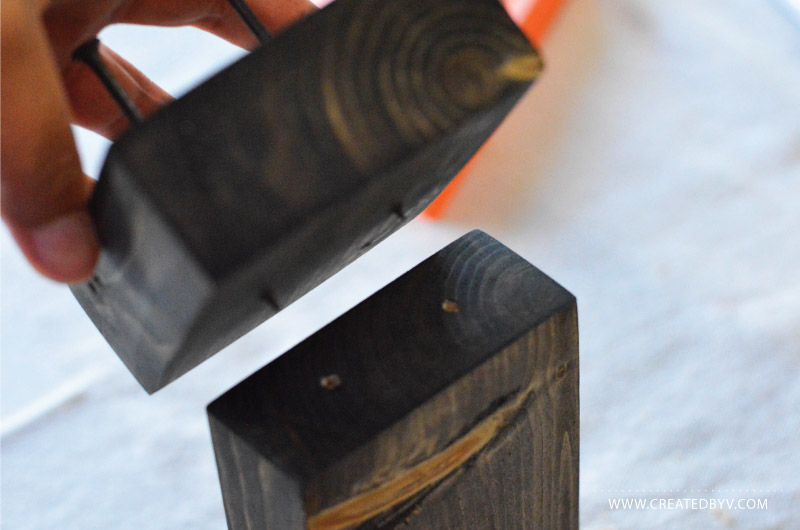
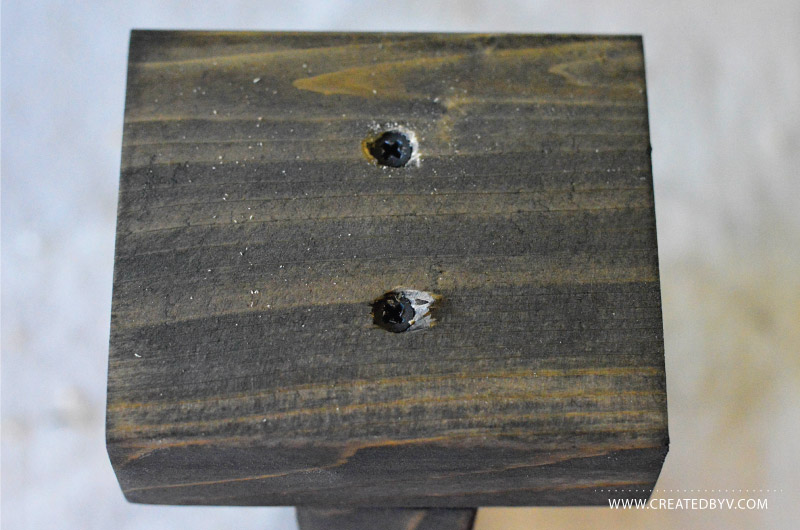
Center the 6″ standing block perpendicularly on top of the 4″ base and drill two pilot holes. The pilot holes should go completely through the base and slightly into the standing block. Next, drill two 3″ wood screws through the base just until they are peeking out. Align the screw tips with the pilot holes in the standing block and drive in until slightly below the surface.
There are many fancier ways to join two pieces of wood, but this is easy and plenty for the purpose they serve. Clean up any splintering with some gentle sanding that preserves the stain.
{step 5} Add hooks and clips.
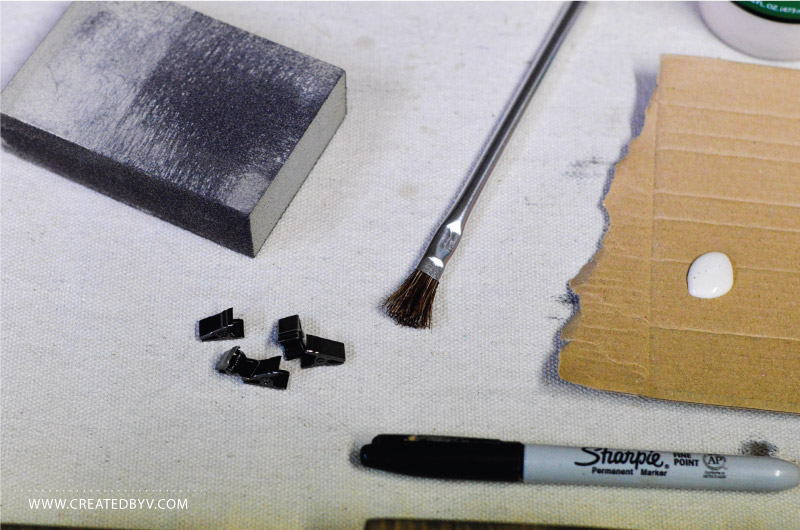
Screw the hooks into the center front of the bases. You can touch up with a black Sharpie marker if any paint chips off of the screw faces.
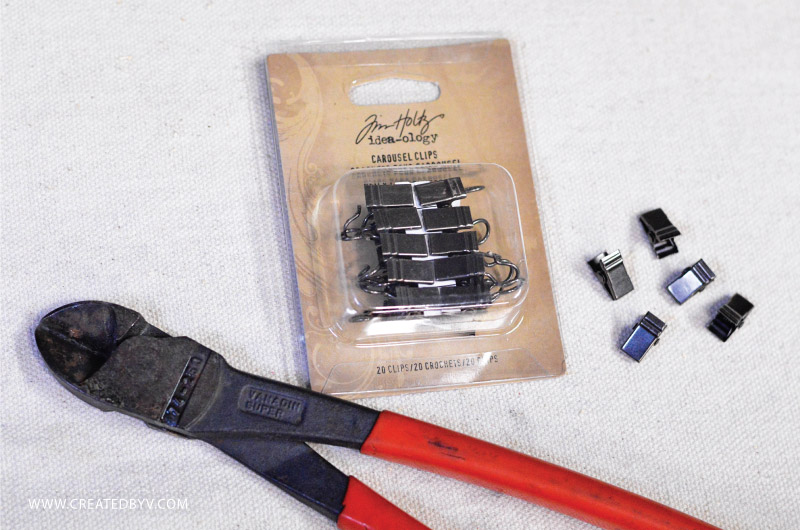
If you’re using mini wooden clothespins, adhere with wood glue to the top center of the standing block. I found these metal clips in the scrapbook section of my local craft store and appreciate that their size doesn’t deter from the photos.
For these clips, I removed the hanging hooks with a pair of wire cutters, scuffed up the backs with sandpaper and then glued them onto the standing blocks.
And that’s it!
The hardest part of the whole thing was finding a photo of myself to put on my block — the norm for someone who is usually behind the camera!
Do you hang stockings by the fireplace for Christmas?
What kind of gifts do you put in your family’s stockings?
Happy holidays! — v.




I love these ideas! When my house has more room I am going to do some of these. The wood blocks look more personal and sentimental. Another great idea Venny!!
Thanks, Nene! You know how much I love incorporating photos! Do you hang stockings? Happy to make you some, too!