I recently painted most of the walls in my little girl’s room a beautiful gray — Repose Gray by Sherwin Williams, to be exact. You may also remember this color from my striped laundry closet makeover.
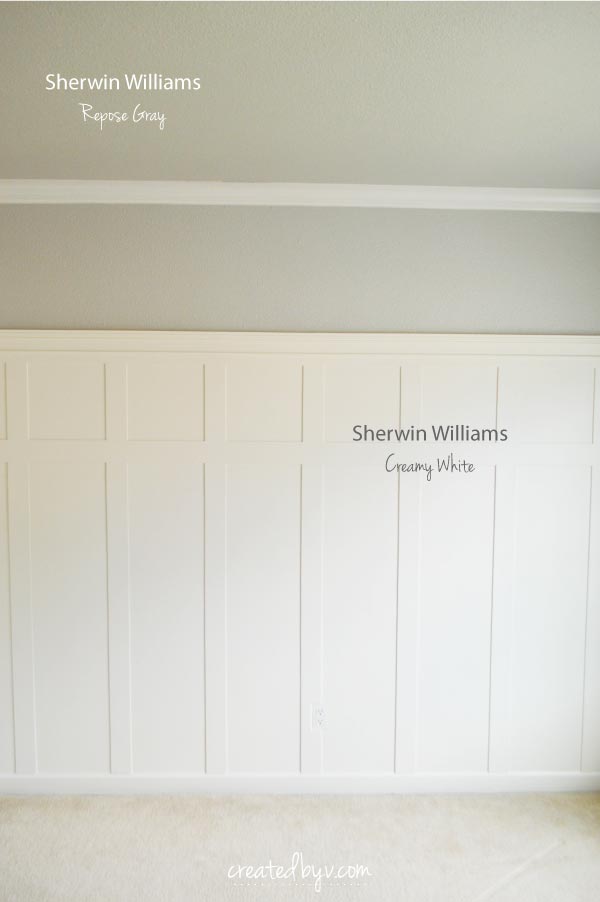
For the board and batten wall, I painted the outlet to match. I was faced, however, with a glaring conundrum for the other gray walls… what to do with the mismatch off-white light switch and outlet covers?
My first inkling was to paint them the same color. I scuffed up a blank wall plate with sandpaper to help the latex paint adhere, but it didn’t roll on smoothly and left brush strokes. You don’t notice those details from a distance, so it kinda works, but I wouldn’t recommend it for highly-visible locations.
My next thought was to buy. There are a dizzying array of wall plates available for sale online and at home stores. We found simple gray covers and outlets, but they were darker than my Repose Gray and clashed even more than the mismatch whites.
So what’s a girl to do other than DIY some covers to suit her own decorative style?!
Here’s what you’ll need:
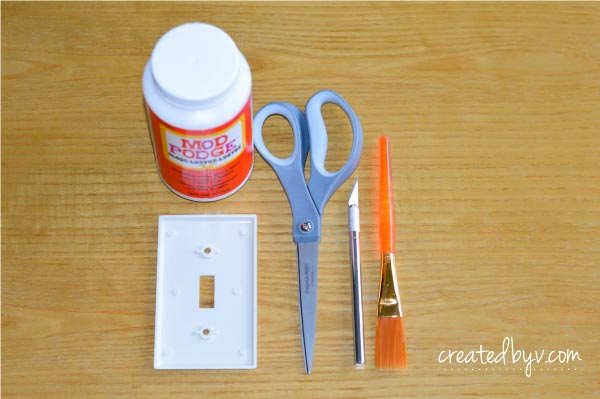
- switch plate / outlet cover
- scrapbook paper / origami paper / wrapping paper
- mod podge
- scissors / X-acto knife
- paint brush / sponge brush
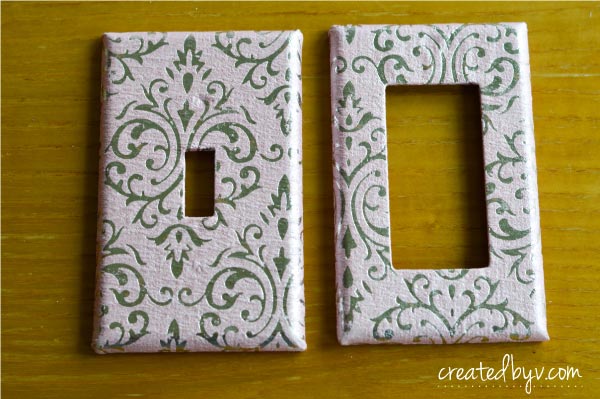
{step 1} Cut paper slightly larger than switch plate. My paper measured about 4×6″. If you have a patterned paper, take note to cut so the design aligns with the screw holes (unlike mine that is a little off-center).
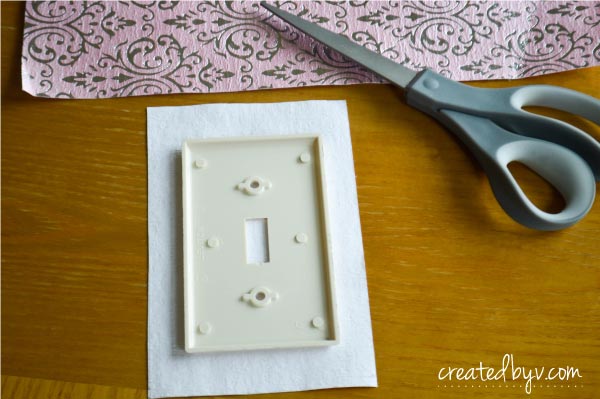
{step 2} Paint a light coat of mod podge onto the front of the switch plate and adhere paper. Smooth out air bubbles.

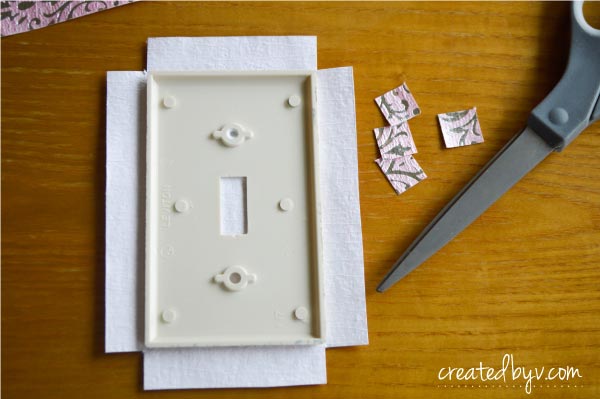
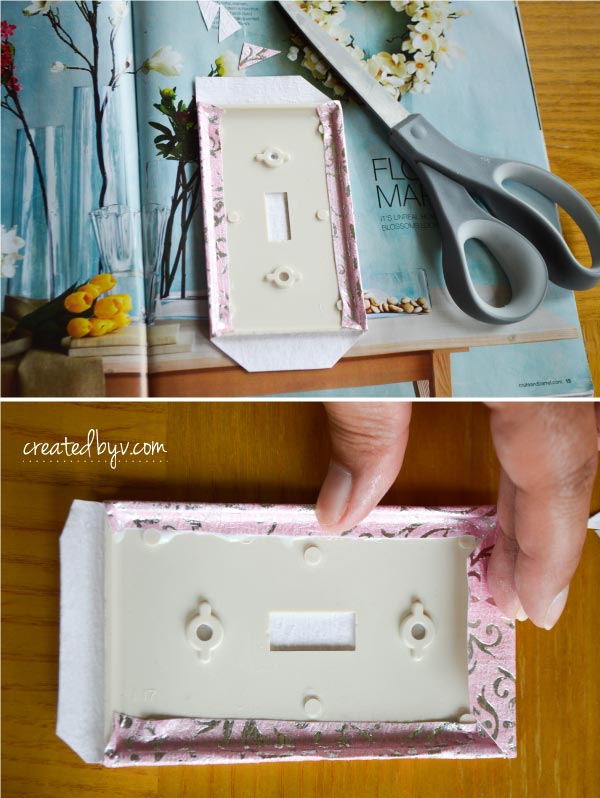
{step 3} Cut out small squares from the corners to remove some of the bulk when you fold the paper around the plate. Take care to leave enough paper to cover the corners — do not cut all the way into the corners.
{step 4} Apply mod podge on sides and fold in. Press along contours to adhere.
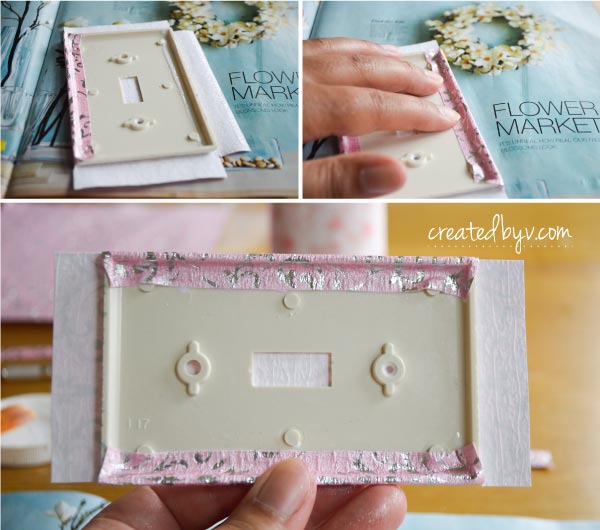
{step 5} Trim corners off top and bottom flaps to lessen bulk; apply mod podge, fold in and press to adhere.
{step 6} Cut an X into the center hole. Apply more glue to the center, fold in and press to adhere.
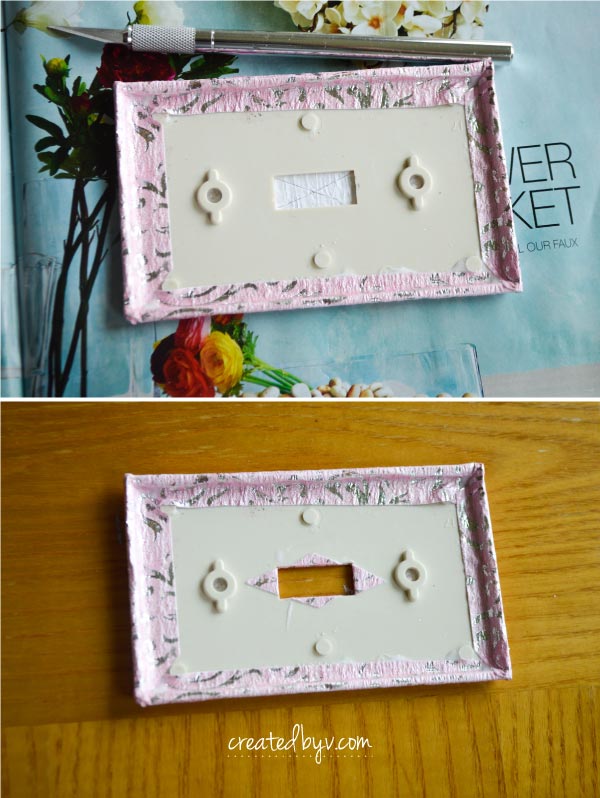
Cut a small opening in the screw holes as an added measure to avoid tearing the paper when you put the screws in place. No need for glue; just make sure the paper gets tucked inside the hole. The screw heads will keep the paper from puckering.
{step 7} Paint a light coat of mod podge over the front to seal.
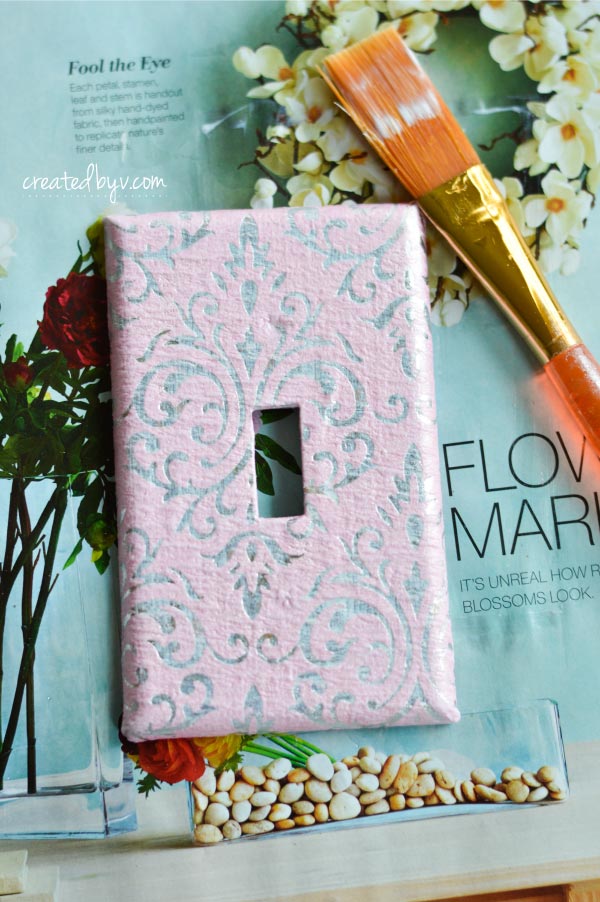
{step 8} After it’s dry, attach switch plate and enjoy!
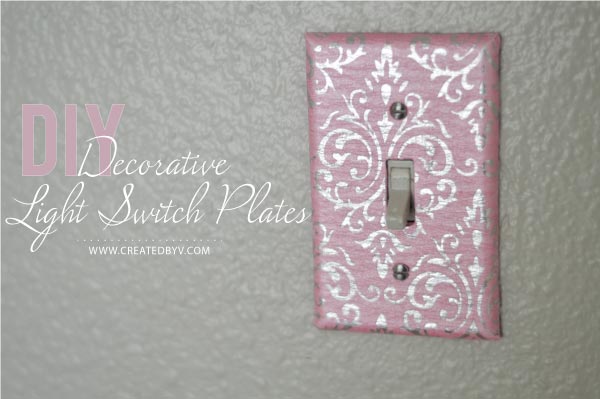
After the success of this one, I was ready to do the whole house! It’s such a simple touch that really makes a nice impact.
These plates pop and add some personality to my little girl’s room. You can certainly choose a more subtle paper that will make your plates blend in with the wall color. And if you make a mistake or simply don’t like the outcome, it washes right off with soap and water. {Perfect for renters!}
So, do you have a switch plate in need of a makeover? Give it a try today! — v.


After you have your plate covered with paper, you could then paint it the wall color.
Yes! Another reader commented on Hometalk that her husband buys plates with a clear plastic cover. He’d paint a piece of paper to match the wall and then attach the clear cover over it. Thanks for the tip and visiting the blog, Alice!
Great tutorial and a great way to save money and time trying to find a matching color!
Love this idea! Saving it for future reference :)
Thanks, Lexie! It’s even great for rental spaces because you can just wash it off with warm water and soap!