During this past 12 Baking Days of Christmas, I received lots of positive feedback about the mini caramel apple pies (thank you!). I thought it only fitting to follow up with a cherry variety for Valentine’s Day.

These darling little heart-shaped pies are just the right size of sweetness. They’re especially delightful accompanied by a scoop of vanilla ice cream or a warm caffe latte.

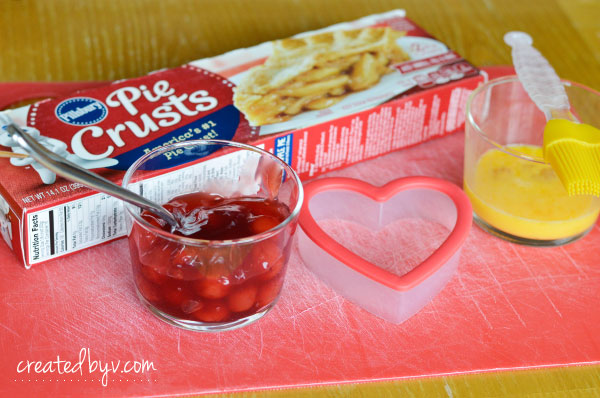
As much as I enjoy baking from scratch, I understand not everyone has the skills, means, time or desire. My baking philosophy is if you’re making something with love, that’s all that really matters. (And the taste — that matters, too!) For these hand pies, I saved a ton of time without sacrificing any flavor by using ready-made ingredients.
The assembly process is exactly the same as the mini caramel apple pies.
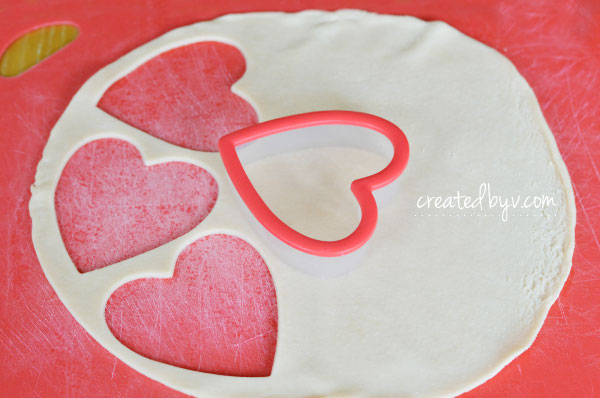
Step 1:
Unroll each pie sheet and cut out hearts. Gather the scraps into a ball, roll out flat and cut more hearts until the dough runs out. Since you’re cutting tops and bottoms, take care to end with an even number of hearts. I got about 20 hearts from mine.
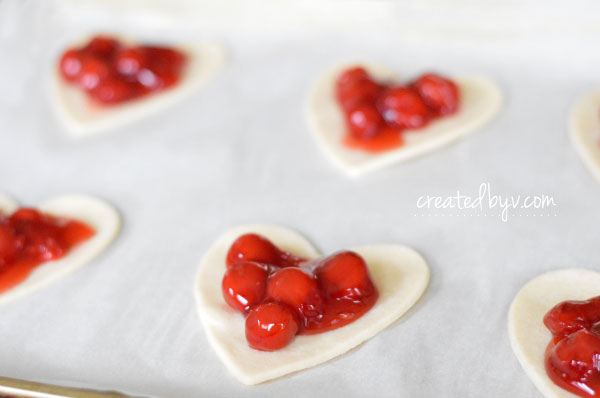
Step 2:
Spoon a small amount of cherry pie filling onto the bottom hearts. Leave a bit of space around the edges to seal. I tend to get overzealous with the filling and it seeps out when sealing — which isn’t a huge deal — but restrain yourself if you’d like a neater pie.
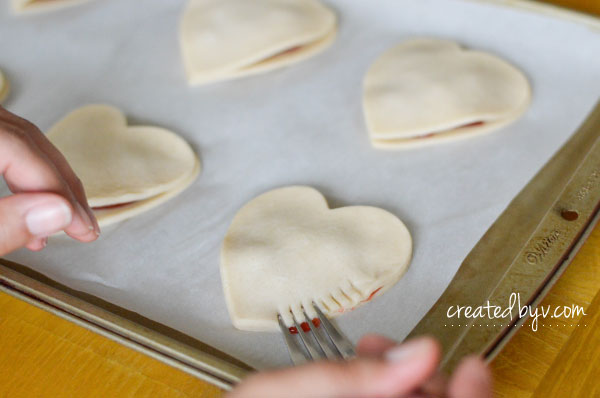
Step 3:
Place dough hearts on top and seal the edges together by crimping with the tines of a fork all the way around each pie.
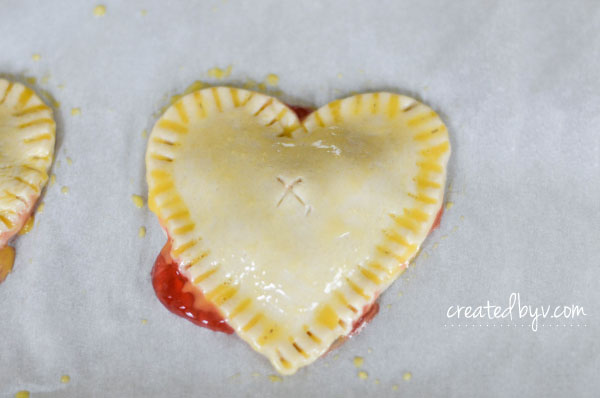
Step 4:
Brush egg wash over the tops of each pie, then pierce two vents on the top with the tip of a sharp knife.
You can finish these cherry hand pies one of two ways:
(1) sanding sugar, which is like the baking world’s glitter. Generously sprinkle all over the tops after brushing with egg wash and before baking for a little shimmer and texture.
(2) simple sugar glaze, which reminds me of Hostess pies. Brush the glaze on after the pies have cooled and allow the glaze to set before serving.
Both ways, you’ve got love straight out of the oven!

Are you a pie fan? What’s your favorite flavor?
Wishing you a wonderfully sweet Valentine’s Day! — v.
Don’t want to miss a recipe?
Subscribe to receive the latest updates directly to your inbox.
Stay in touch on Pinterest, Instagram and Facebook, too.
Thank you so much for reading!
Heart-Shaped Cherry Hand Pies

Ingredients
- 1 box of refrigerated pie crusts
- 1 can (21 oz) cherry pie filling
- 1 egg
- 1 Tbsp water
- sanding sugar, optional
SIMPLE SUGAR GLAZE- 1/2 cup powdered sugar
- 1 Tbsp half-and-half or milk
Directions
- Step 1 Preheat oven to 425 degrees F. Line a baking sheet with parchment paper.
- Step 2 Remove pie crusts and unroll on lightly floured surface or mat. Using a heart-shaped cookie cutter, cut hearts out of the dough. Gather scraps into a ball and roll flat with a rolling pin. Continue cutting hearts until dough runs out. Make sure to end with an even number of hearts.
- Step 3 Place hearts on baking sheet and spoon a small amount of cherry filling onto the centers. Leave space around the edges to seal. Place another dough heart on top of filling and gently crimp the edges together with a fork. Pierce the tops with the tip of a sharp knife to vent.
- Step 4 Beat egg with 1 Tbsp of water and brush each pie with egg wash. Sprinkle with sanding sugar, if desired. Bake for 13-15 minutes or until golden brown.
- Step 5 For the Simple Sugar Glaze: combine ingredients in a small bowl and stir until smooth. Allow pies to cool, then brush tops with glaze. Allow glaze to set before serving. Enjoy!