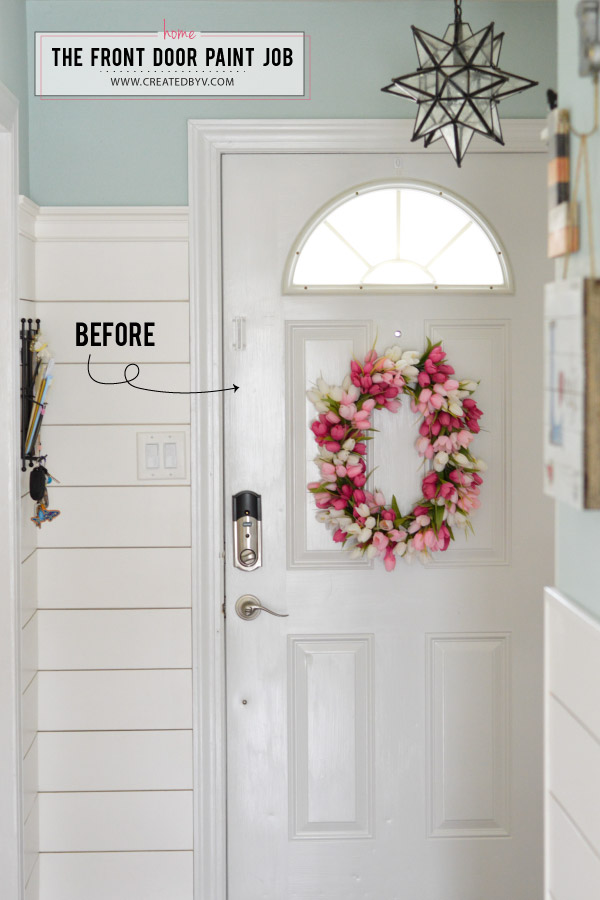
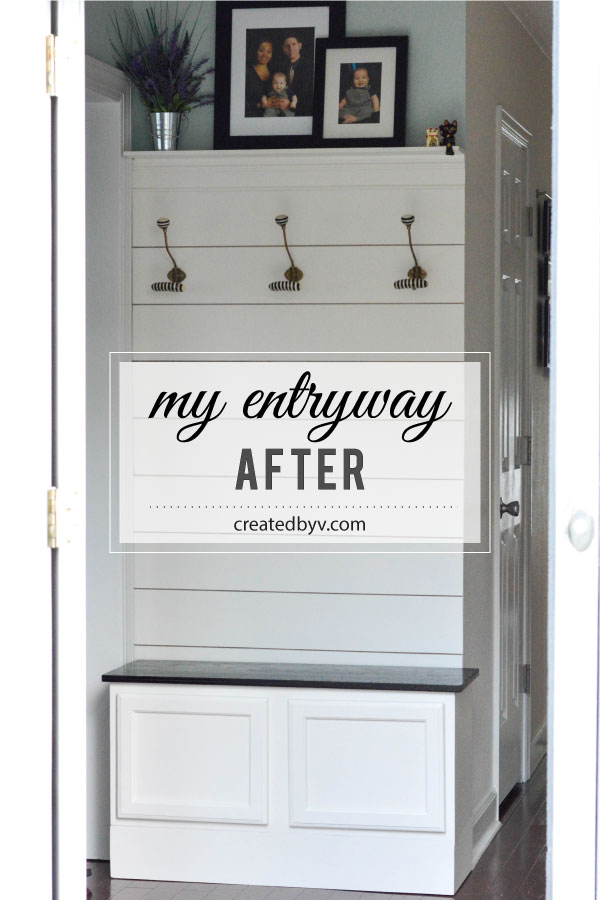
When we installed white shiplap to the walls of the entryway, the front door screamed for a makeover. To break up all the white and maintain a classic look, I decided to paint the inside of the front door.
The door was poorly painted previous to us. It’s hard to hide a botched job on an item that’s seen everyday, multiple times a day, so the Chief and I were determined to do it right. On a lovely spring day, we took the door off its hinges and set to work!
A quick note about our door and paint choice:
The door is made of steel, which requires a paint that adheres well to the glossy, smooth surface of metal. We also planned to apply the paint with a sprayer for the best results. We own a cheap pneumatic sprayer that the Chief has successfully used with oil-based paint to refurbish metal tool cabinets. Latex paint, on the other hand, delivered splotchy, sub-par results and needed significant thinning. Due to these factors, we painted the inside of our front door with Rustoleum oil-based paint in flat black.
Below is how we did it.
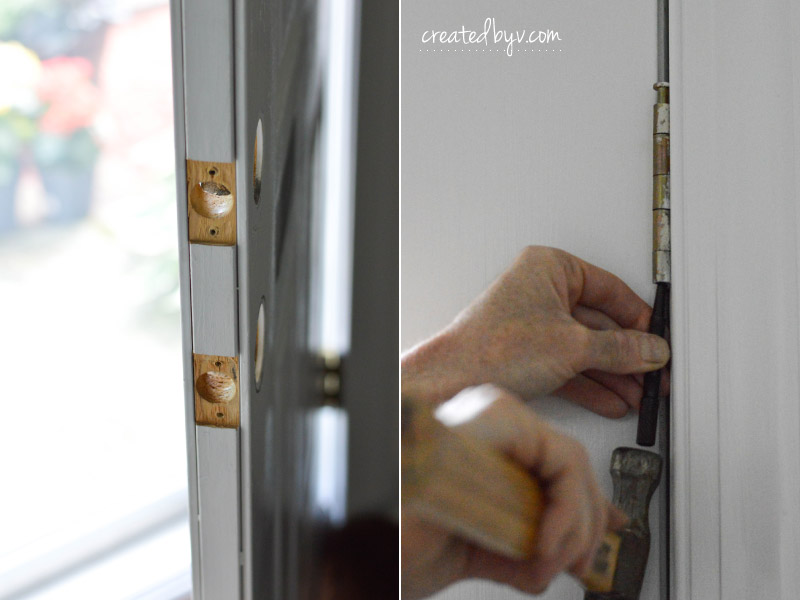
Step 1: Remove hardware and hinges.
The first thing is to remove or tape off anything you don’t want painted. For our door, we removed all the hardware, including the peephole and the half-round plastic casing for the door light. Taking the door off its hinges made it a lot easier to work with, especially since we planned to sand down the previous paint job and spray on the new paint.
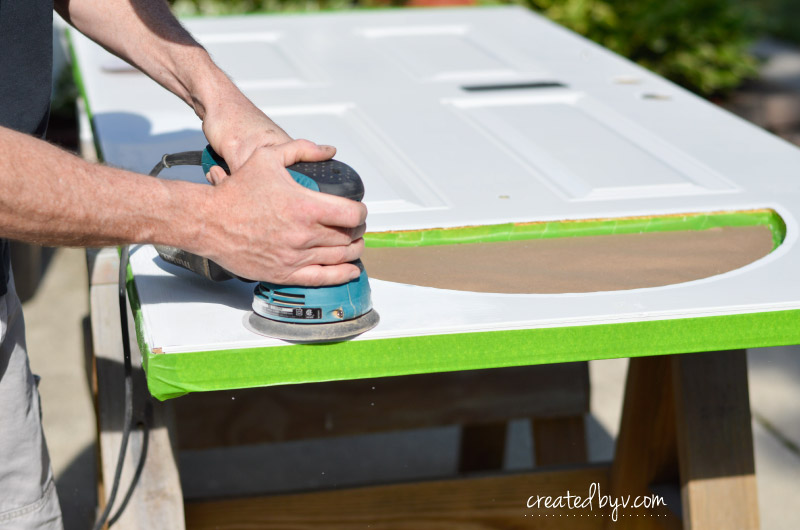
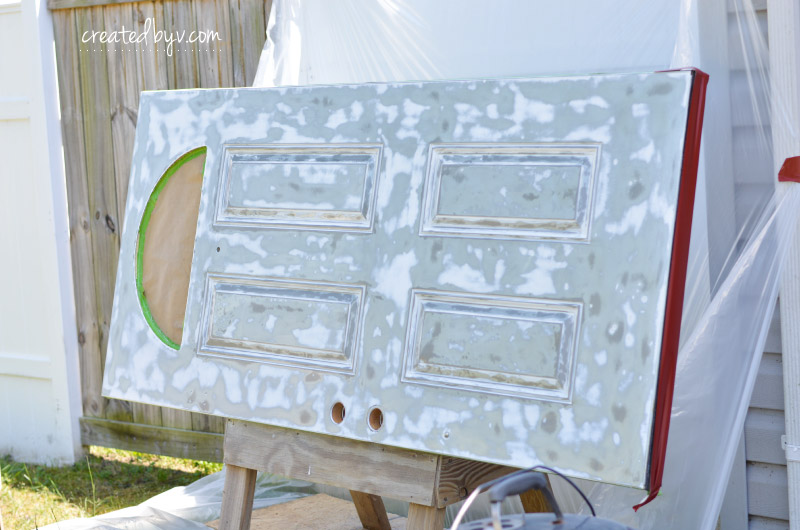
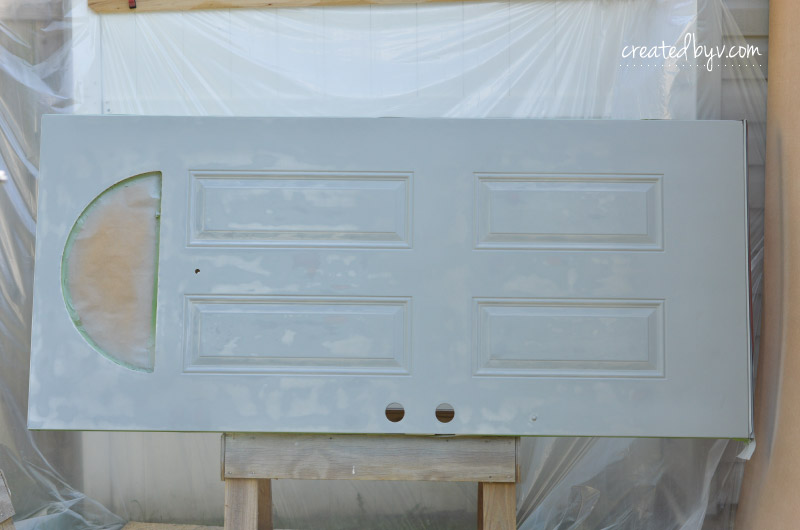
Step 2: Sand, repair and clean.
Here it is in its former state of disarray. You can clearly see the multi-directional brush strokes and uneven paint. There are several dents along the bottom of the door, and removing the chain lock left little holes as well.

The Chief got down to the dirty, dusty business of sanding. He expected to feather in the previous job, however the old paint peeled and crumbled so he ended up taking it all the way down to a smooth surface.
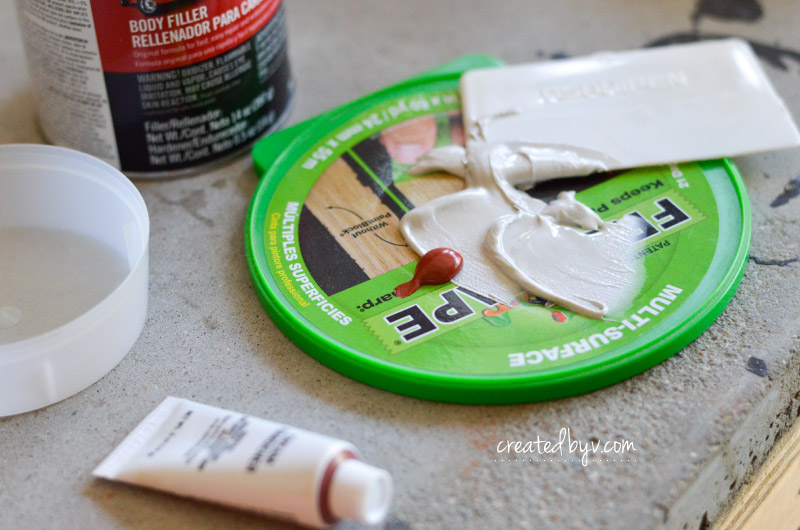
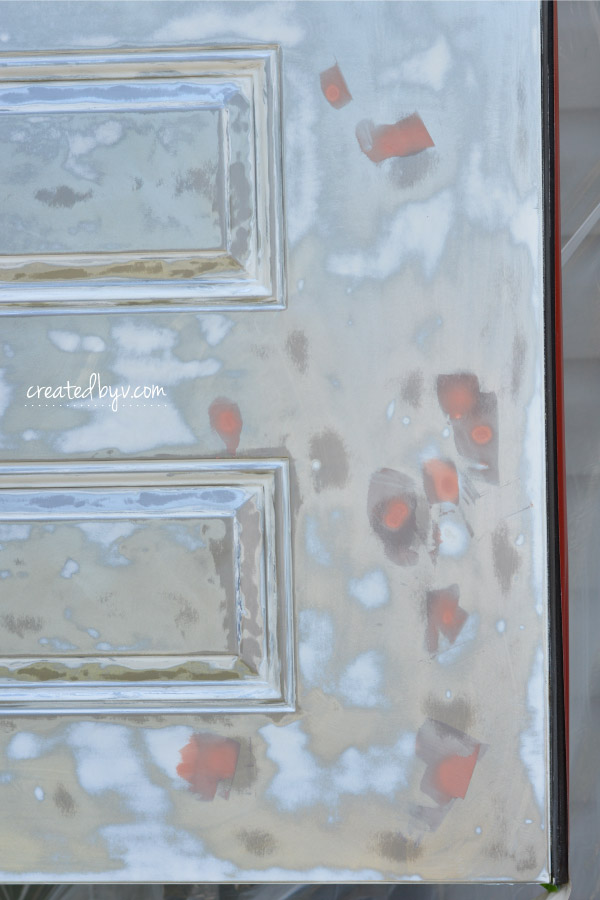
To repair the dents and holes, he used Bondo auto body filler, spreading it over like putty. You’ll need to work quickly before it hardens, and then give it a light sanding to smooth.
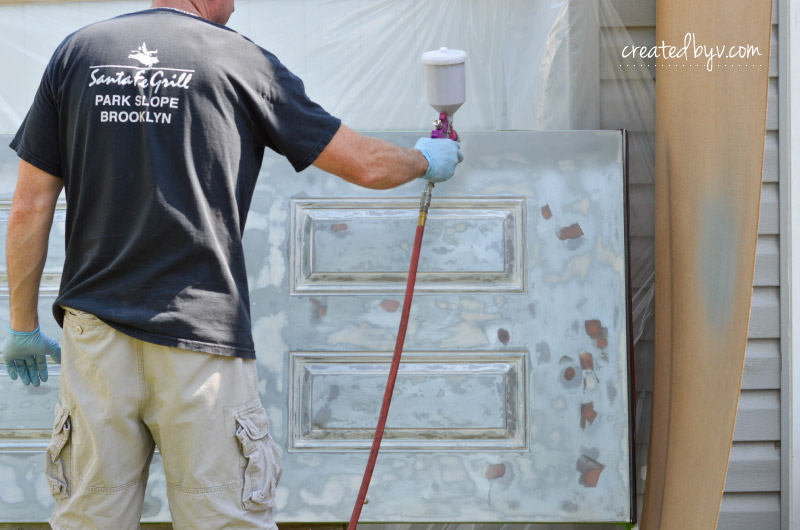
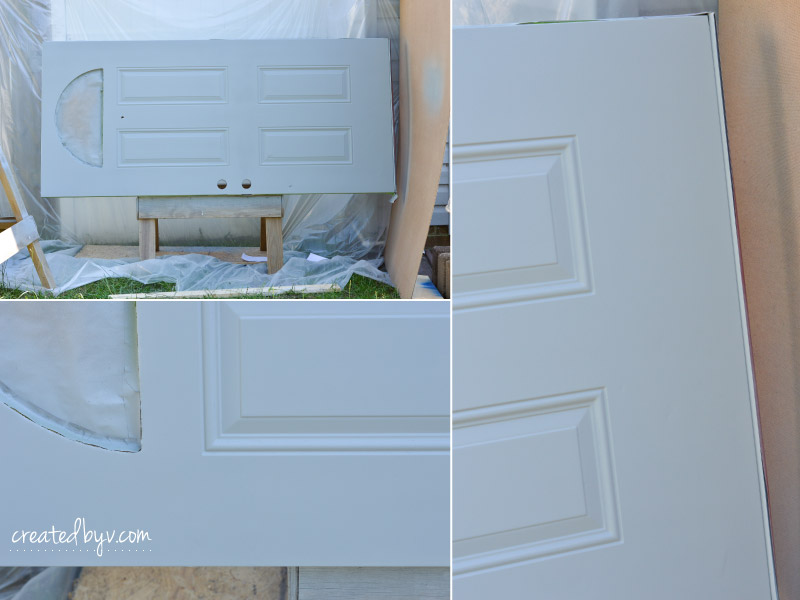
Step 3: Prime and paint.
To ensure the best bond, the Chief sprayed a few coats of Rustoleum oil-based primer to the door first.
Here it is after the first coat.
I was a little nervous about coverage, but the Chief assured me that several light coats with the sprayer would get the job done. He was right!
The dents and holes are virtually invisible and the surface is wonderfully smooth. We let the door dry outside for the day, and then re-hung it to dry overnight.
The next day, he took the door down again and gave the primer a light sanding to prepare for the black (and because bugs seem to gravitate into wet paint when painting outdoors). He finished with the flat black paint in the same manner as the primer.
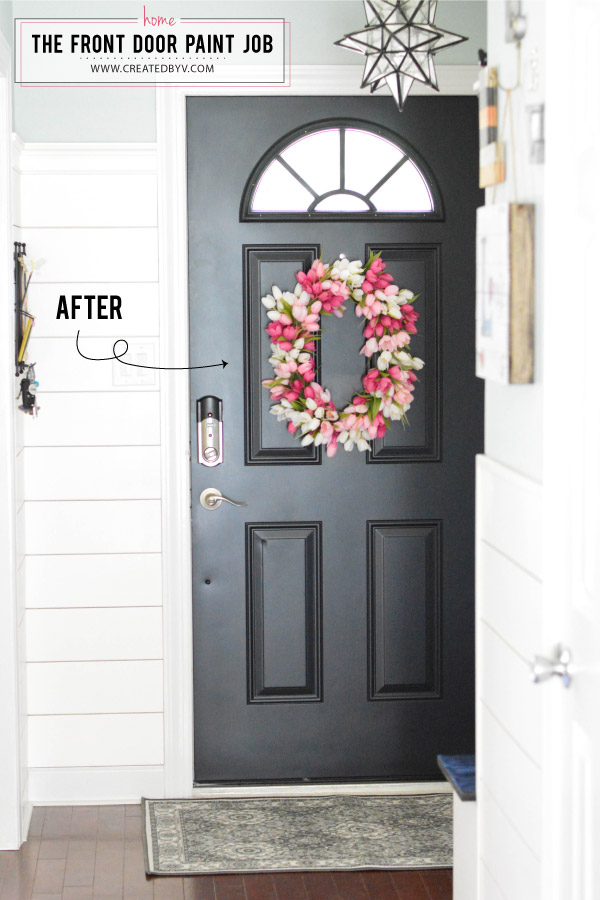
And here’s our beautiful front door!
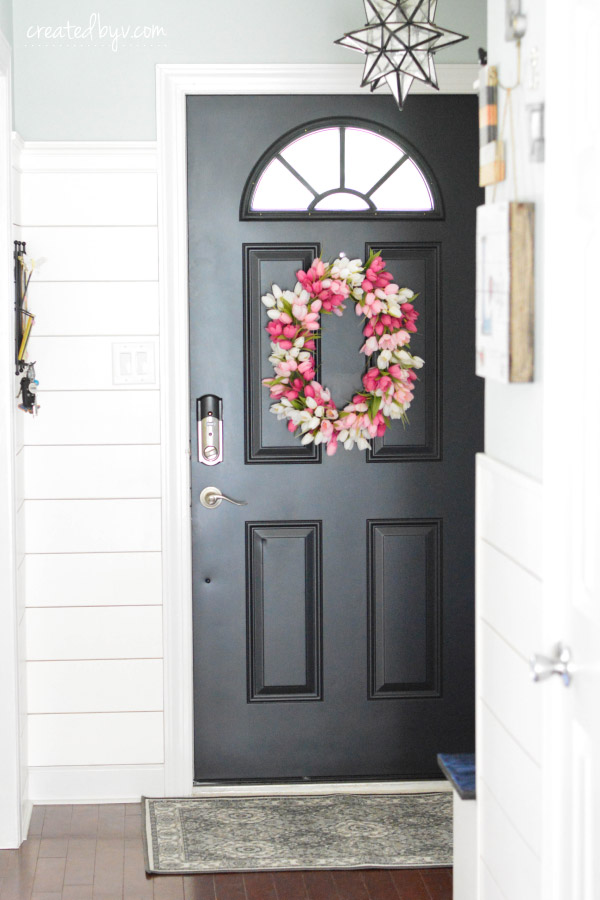
Door Paint | Tulip Wreath | Chandelier
A few friends wondered whether a black door would feel too dark in our small entryway, but I love how it breaks up the white space. It also ties in the light and black and white accents within the entryway nicely.
Now for the front side! I’m leaning towards black, but am also considering red…
What color would you paint it?
Thanks so much for reading and sharing your thoughts! — v.


Love the inside of the door, great job!! I think the red door would really pop, especially if the shutters are black.
The sprayer did a lovely smooth job! I’m not sure I understand… did you paint it black after re-hanging it? Or was that a temporary ha g for the night, and you took it off the hinges to paint black?
As for exterior color I could see the same bold black. Although I’m leaning hard for orange for my own front door…
Thanks, Kathleen! So we took the door off to prep and prime, which took most of one day so we re-hung it that night. The next day, we took it down again to spray black. It turned out so much better than I could imagine! Are you leaning towards orange for your front door for a bold pop of color?
That makes sense… can’t leave the house wide open all night!
Yes, both because I love a bold color, and it would suit the style of our house. It’s a mid century, split level ranch… a mix of pale yellow siding and pale red brick (it’s hard to describe… the brick is treated to be off white and rusty-pink). I think orange would bring some life to a pretty soft, but warm, color scheme, and suit the feeling of the mid century.
I say go for it, Kathleen! And then please send pictures of how fabulous it turns out!
Looks beautiful, V!! I agree that the black gives a great contrast.
For the outside, I would vote for a color, but I’d have to see your outdoor color to really choose.
Great work!
Thanks so much, Nata! Here’s a pic to refresh your memory:

So the outside has grey siding with dark green shutters. I’m thinking of painting the shutters black and the door to match. But a red door might provide a nice pop of color and a classic touch. Thoughts??